4. Create a repository
In this lesson, we are going to create our own repository
 |
A repository is a website that works with git |
|---|---|
4.1. Exercise 1
Login to Codeberg. Then, on the dashboard, click 'New repository':
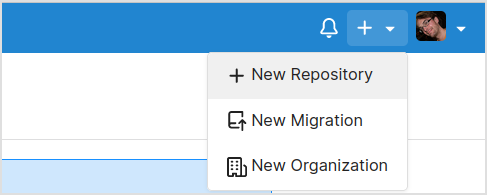
This will take you to the 'New repository' screen.
 |
The dashboard shows all your repostories |
|---|---|
4.2. Exercise 2
This is the 'New repository' screen:
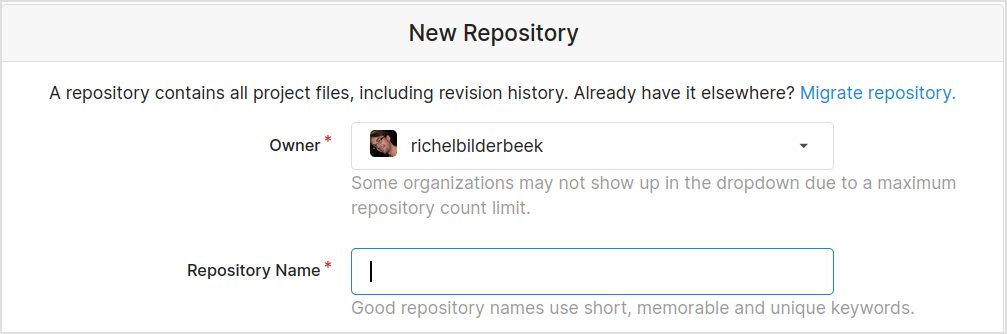
Fill in the 'Repository name', which will be the -duh!- name of the repository.
In the case below, iloverichel is used.
|
Maybe richeliscrazy is a better name |
|---|---|
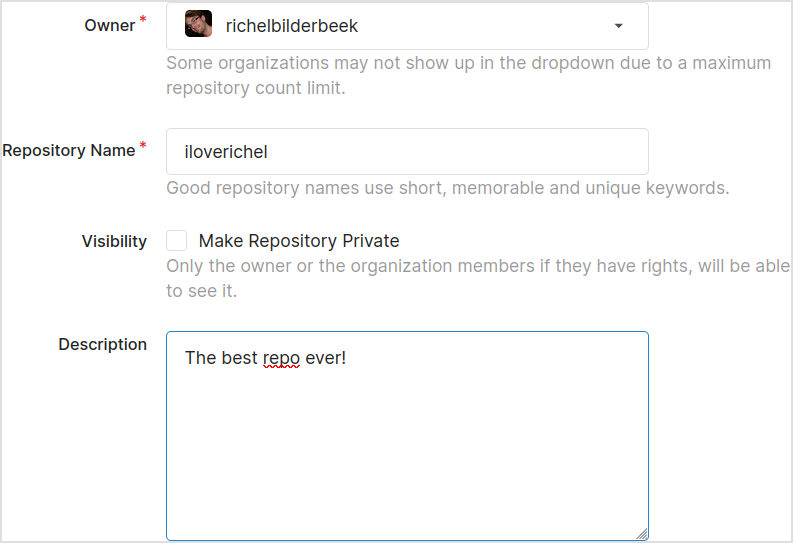
Click on 'Initialize repository (Adds .gitignore, License and README)'. This step is optional, but we want this :-) .
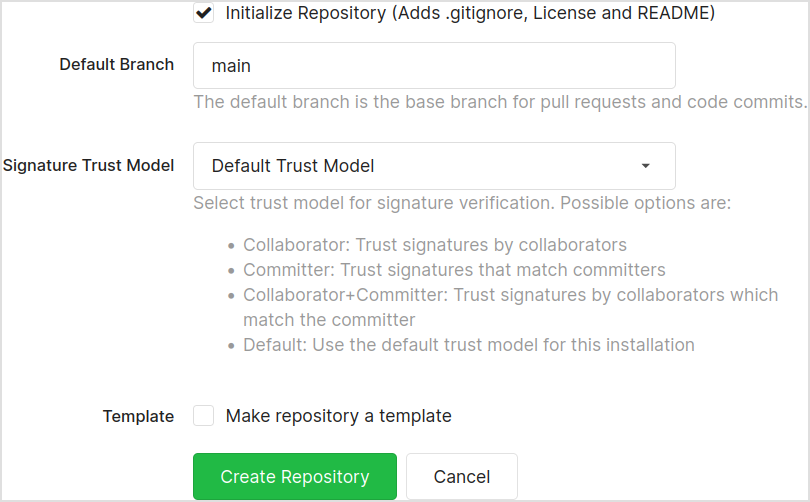
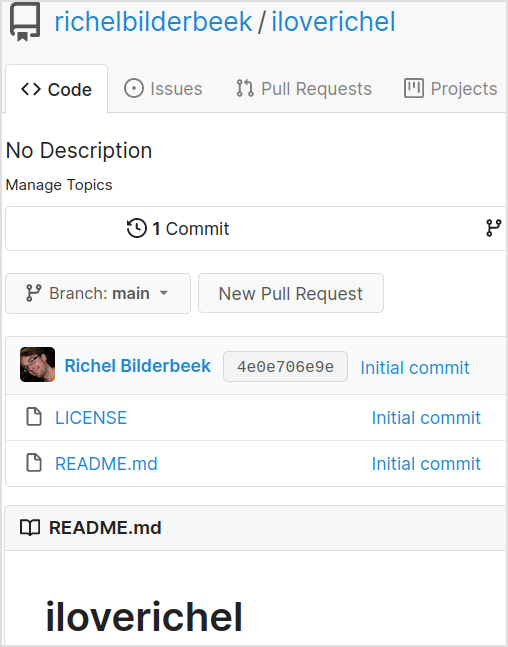
Now you have your new repository!
|
The website text shown, is from README.md |
|---|---|
4.3. Final exercise
Create a new repository without looking at this booklet.
 |
This should be easy! |
|---|---|