5. Monologue
 |
A monologue is when you talk to someone without letting them talk back |
|---|---|
 |
Monologues are my favorite! |
|---|---|
In this chapter, we are going to use the basic git workflow
by writing a monologue.
5.1 Have a Codeberg repository
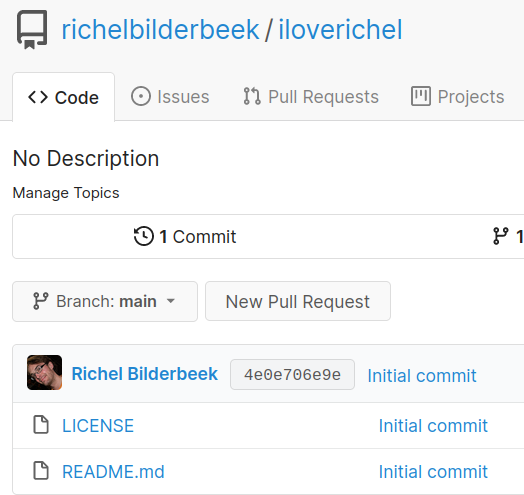
In this chapter, we will use an example user, which is richelbilderbeek
and and example repository name, which is iloverichel.
|
A repository is a website that works with git |
|---|---|
5.2 Exercise 1
Create a Codeberg page for your repository.
 |
'repository' is often shortened to 'repo' |
|---|---|
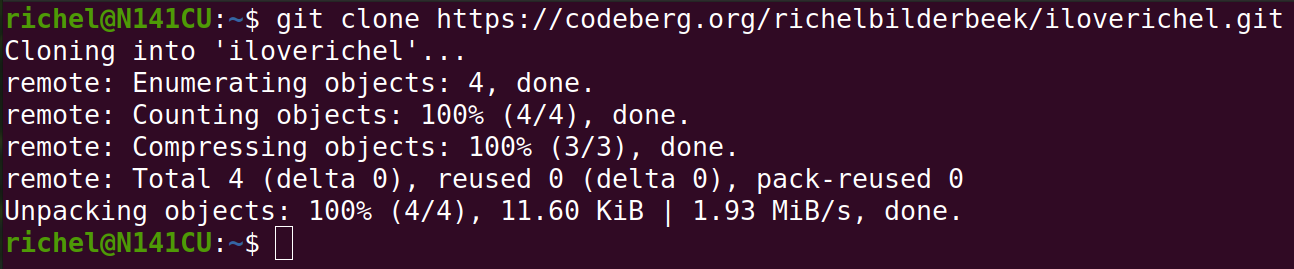
5.3 Cloning a repository
To clone your repository, in Git Bash, or a Linux/Mac terminal, do:

This will download your online repository to a folder on your harddrive:
5.4 Exercise 2
Clone your repository.
|
Star Wars 'The Clone Wars' was not about git |
|---|---|
5.5 Navigate into the folder
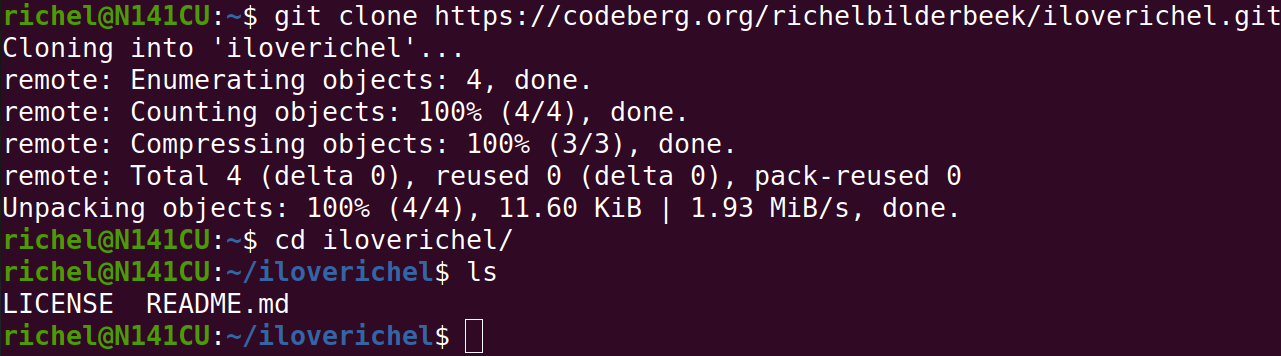
After cloning a repo, we need to navigate into the folder
where the repository is. Use cd and the repository name (in
this example iloverichel):

|
cd means 'Change directory' |
|---|---|
To make sure you are in that folder, use ls:
|
ls means 'List' |
|---|---|
One file you will see is called README.md.
5.6 Exercise 3
Navigate into the folder where your repo is cloned.
|
Use cd to change the directory/folder |
|---|---|
5.7 Use git status
git status is very helpful.
You can always use git status in a repo folder:
git status gives many hints how to use git.
5.8 Exercise 4
Run git status in a repo folder.
If you get an error message, you did not navigate into a repo folder.
|
My git status is Cool |
|---|---|
5.9 Edit README.md
README.md contains the front page of your GitHub repo.
|
README.md is in screamcase, due to history |
|---|---|
|
.md is short for 'Markdown', which is a markup language |
|---|---|
|
HTML is a famous markup language |
|---|---|
To edit README.md, you can open it:
- using a file browser (e.g. Microsoft File Manager, Apple Files, or Nautulus)
- using Git Bash or a terminal
In Git Bash or the terminal, do:
where [name of your editor] is the name of your editor, for example
notepad, mousepad, edit, gedit, vim, emacs.
|
There are many text editors! |
|---|---|
This is, for example:
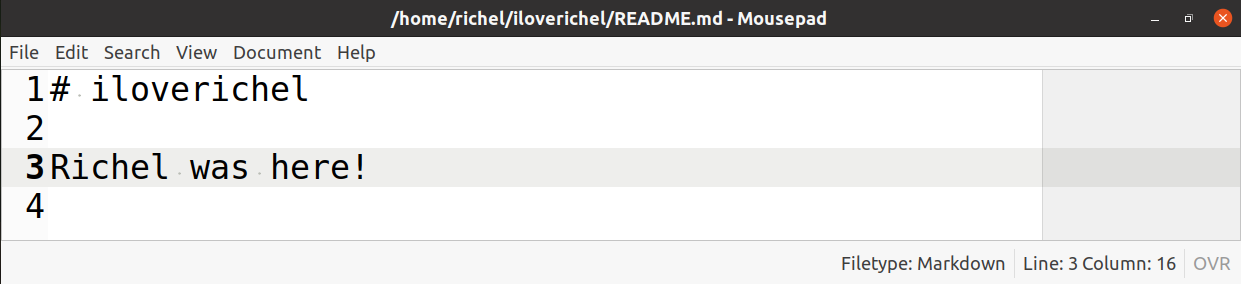
Now your editor will open up and you can modify the README.md file.

The text will be similar to:
Change the text in any way, as if having a monologue:
Save the file and close the editor.
You will be taken back to Git Bash or terminal:

5.10 Exercise 5
Edit your README.md.
5.11 add, commit, push
Now come the most commonly used three git commands.
|
git can do a lot of things |
|---|---|
Tell git you want to 'stage' (whatever that is) all files you've changed:
Don't forget the dot (.) at the end!
Next, tell git what your changes were:
Between the "s you describe what you did.
|
Good programmers have commit messages that tells clearly what they did |
|---|---|
Finally, upload your work to Codeberg:
If you did it correctly, your Codeberg repository will have your new text.
If you are asked for:
- a password, type it in
- another password, type it in again
- an access token, see chapter 'Register and login'
|
git needs to be sure who you are |
|---|---|
After this, do another round of add, commit, push :-)
Congratulations, you just did the full workflow!
5.11 Exercise 6
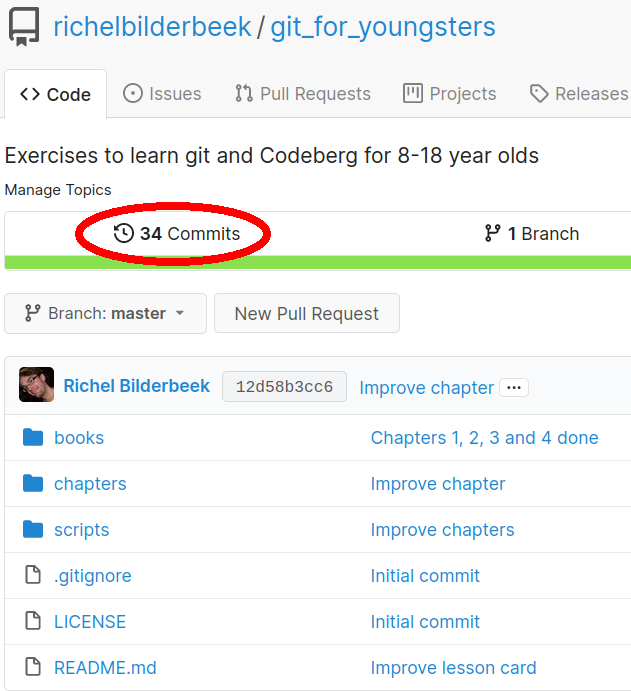
Add 5 commits by, for 5 times, adding a sentence and then add, commit, push.
Tip: with the arrow key upwards, you can get back previous commands!
|
It is handy that Git Bash knows my previous commands! |
|---|---|