1. Setup git
In this chapter, we are going to install the program to work with git.
 |
git is a version control system |
|---|---|
1.1 Exercise 1
First, we check if git is already installed.
1.1.1 Exercise 1 for Linux or Mac
If you have Linux or Mac, open a Terminal and type:
If you get the manual of git, go to exercise 3
|
git is created by the same programmer that made Linux |
|---|---|
1.1.2 Exercise 1 for Windows
If you have Windows, press the Windows key (usually between the left CTRL and left ALT). Type 'git bash'. If the program 'Git Bash' shows up, it is installed and you can go to exercise 3.
1.2 Exercise 2
We need to install git
1.2.1 Exercise 2 for Linux
If you have Linux, start a Terminal and do
 |
Linux is easiest :-) |
|---|---|
Type in the root password and git is installed.
Go to exercise 1 to check that it worked.
1.2.2 Exercise 2 for Windows
If you have Windows or Mac, install Git Bash at https://git-scm.com/downloads.
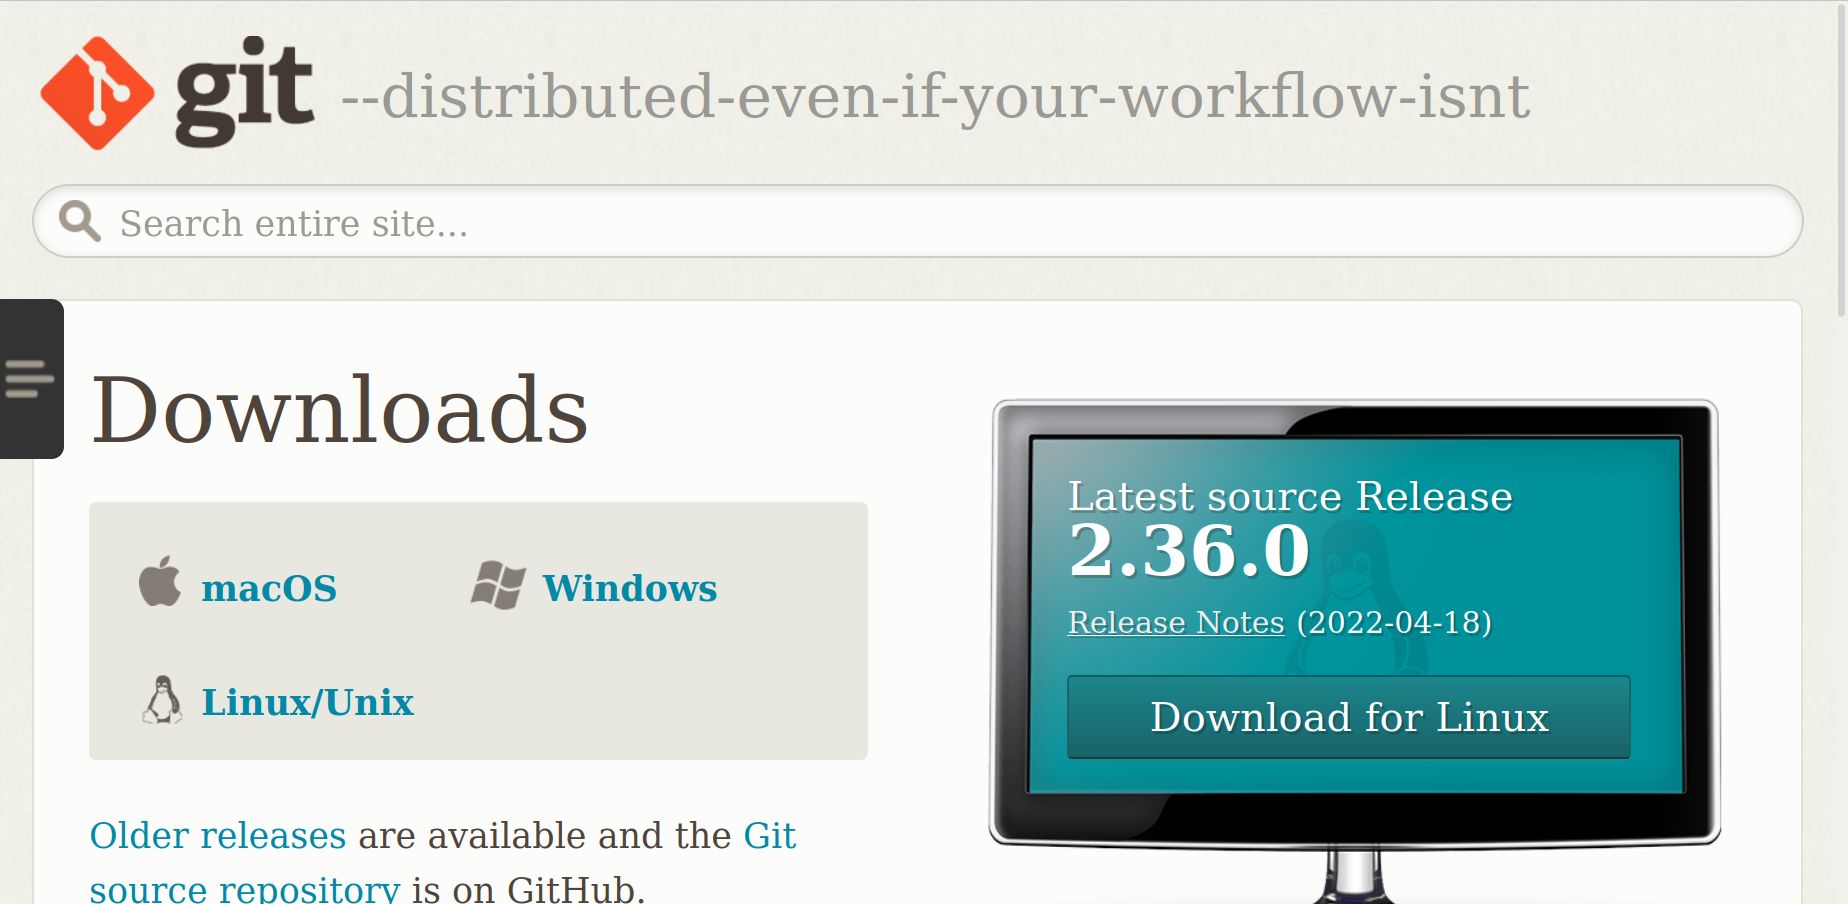
When installing, use all default settings.
Go to exercise 1 to check that it worked.
1.3 Exercise 3
We need to tell git who we are.
Start Git Bash or a terminal and tell git who you are:
where [username] is your Codeberg username, and [email] is the email
you set in your Codeberg profile. As an example:
|
You only need to do this once |
|---|---|
1.4 Final exercise
In the Terminal or Git Bash, prove you told git who you are:
Type
and your Codeberg username should appear.
Type
and your Codeberg email should appear.
As an example, this is how it can look like:
$ git config --global user.name
richelbilderbeek
$ git config --global user.email
richel@richelbilderbeek.nl
|
Luckily, this only needs to be done once |
|---|---|