1. Burn bootloader to chip
When one buys the main Arduino chip (its name is 'ATmega328P'), it has no bootloader om it. In this step, we'll burn a bootloader on the chip
1.1. Schematic
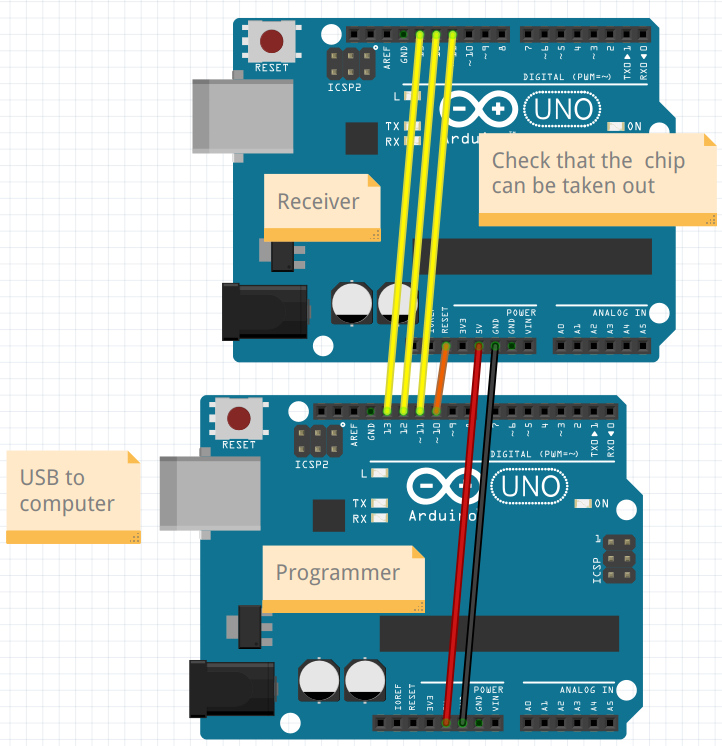
Build up the schematic as shown here.
1.2. Upload 'ArduinoISP' to the programmer
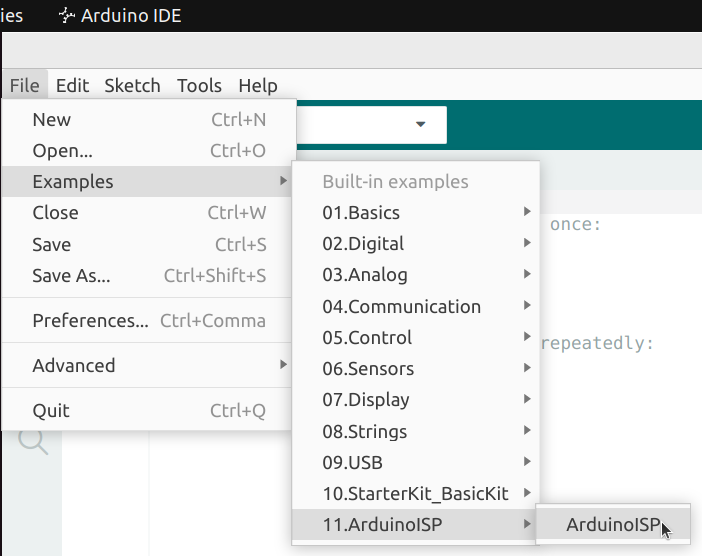
Click on 'File | Examples | ArduinoISP' to get the code needed.
We do need to fix line 81. Scroll to line 81:
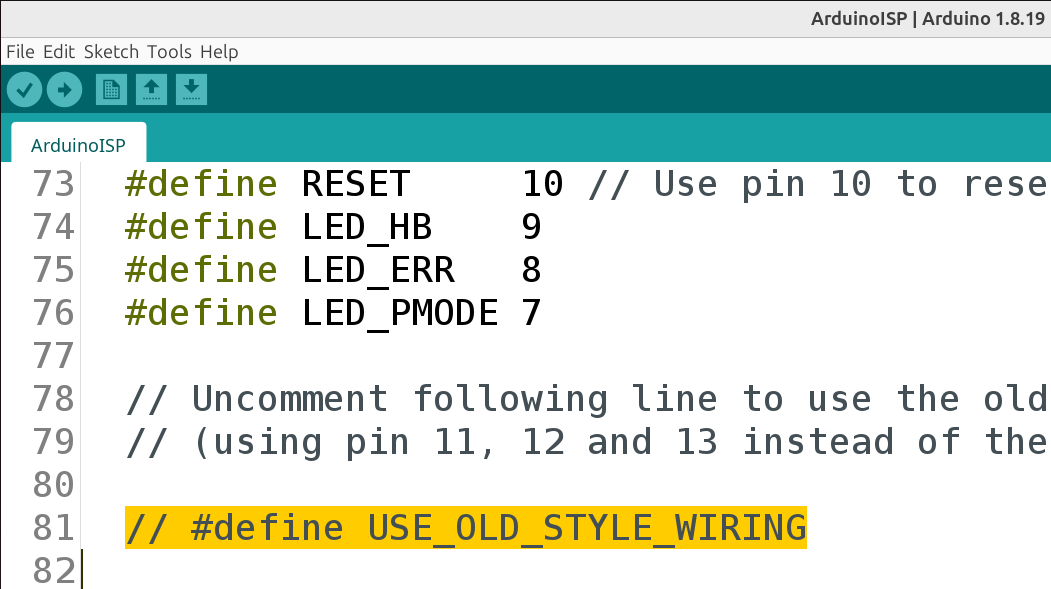
Remove the two slashes (//) at the start of that line:
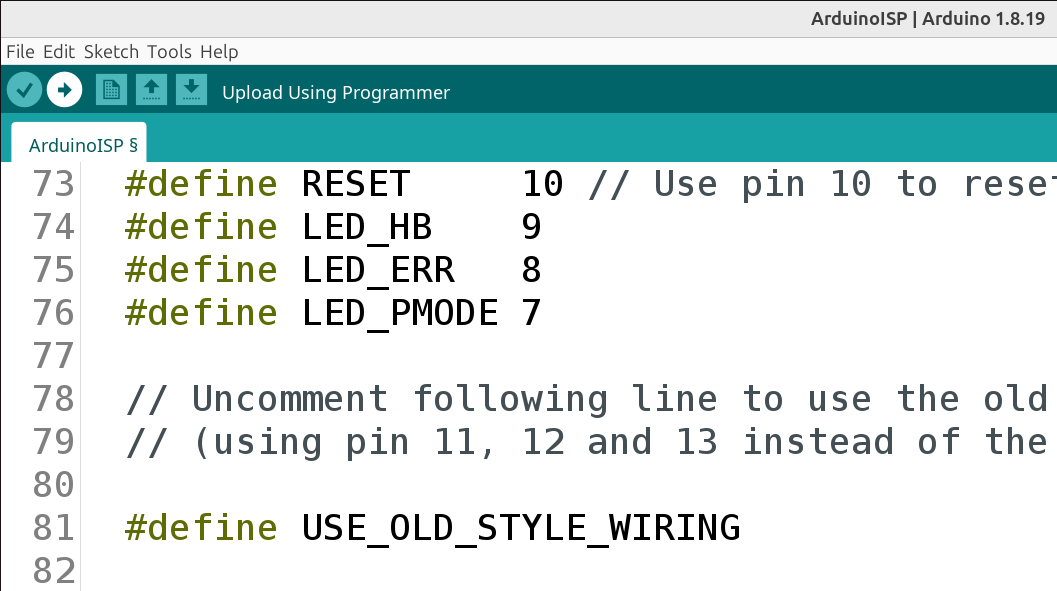
Click om 'Upload' at the top-left of the Arduino IDE:
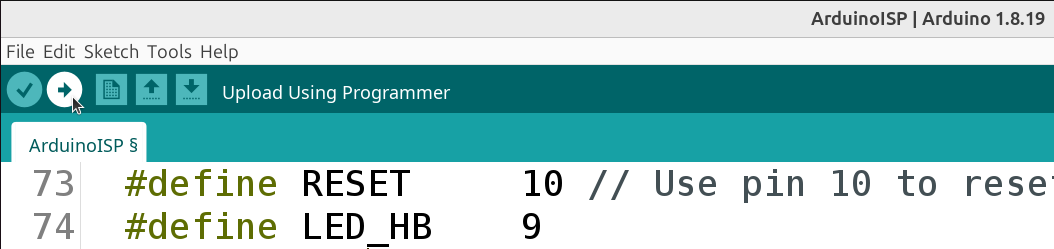
If all went well, this will be shown:
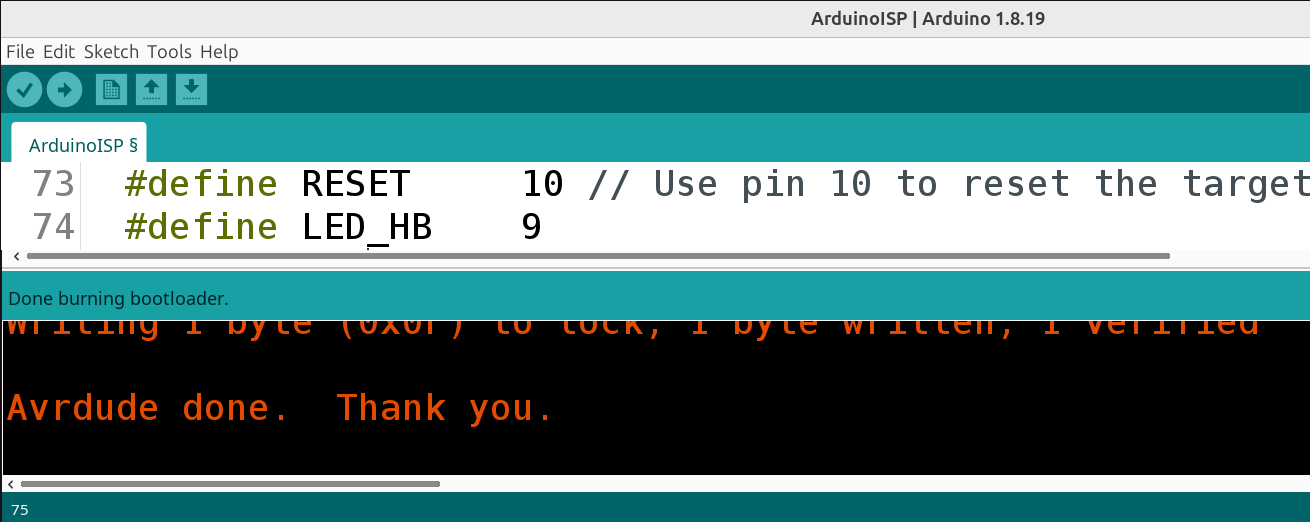
Now the Arduino can be used to burn a bootload on the chip on another Arduino.
1.3. Burn the bootloader

Burn the bootloader
- In the Arduino IDE, check that 'Tools | Programmer' is set to 'Arduino as ISP'
- Click 'Tools | Burn Bootloader'
If there is no error, then you've just burned a bootloader on the Arduino chip.