8. Set up Inkcut connection
In this step of this vinyl cutter to T-shirt manual, we setup an Inkcut connection, from our laptop to the vinyl cutter.
Depending on how you've connected the vinyl cutter, here is how to connect Inkcut to the vinyl cutter.
8.1. Start InkCut
On a Linux computer, start a terminal:
How does this look like?
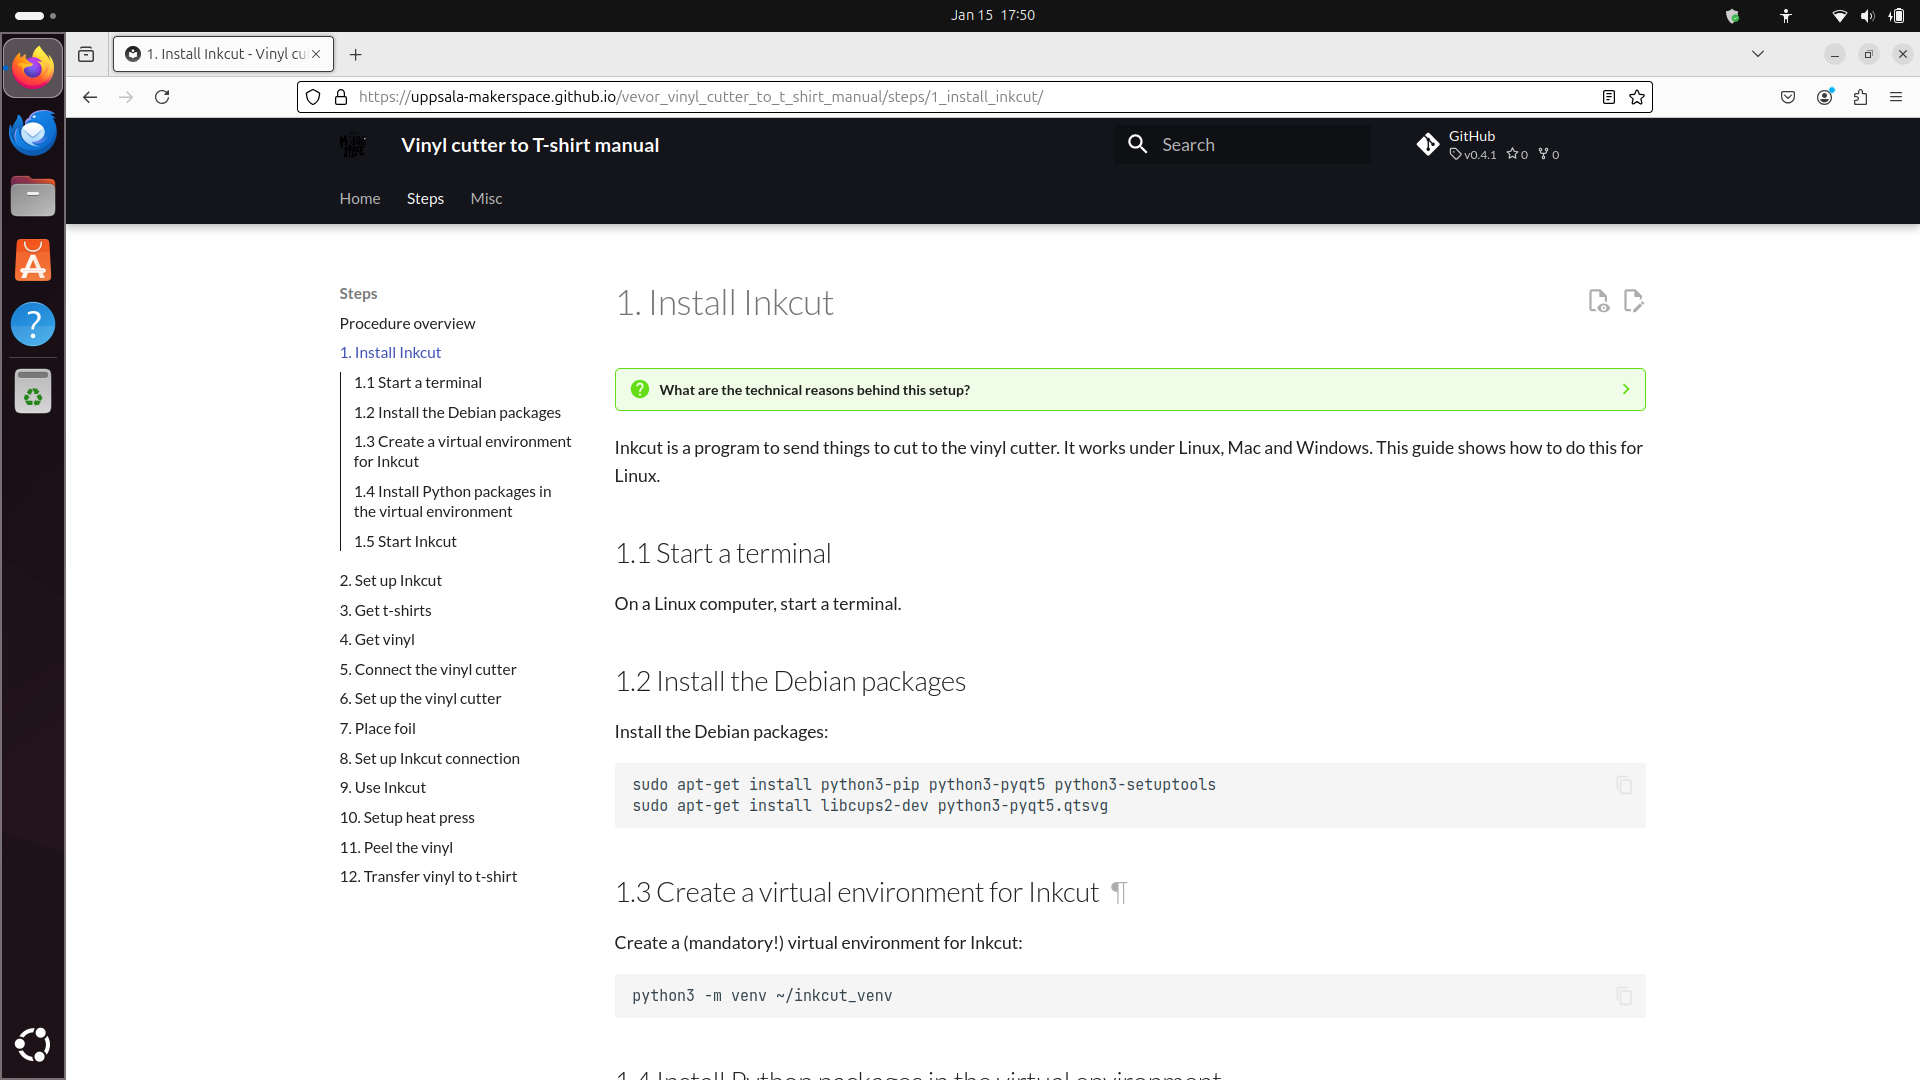
- Press the Meta/Windows key (between Ctrl and Alt at the bottom left of the keyboard)
How does this look like?
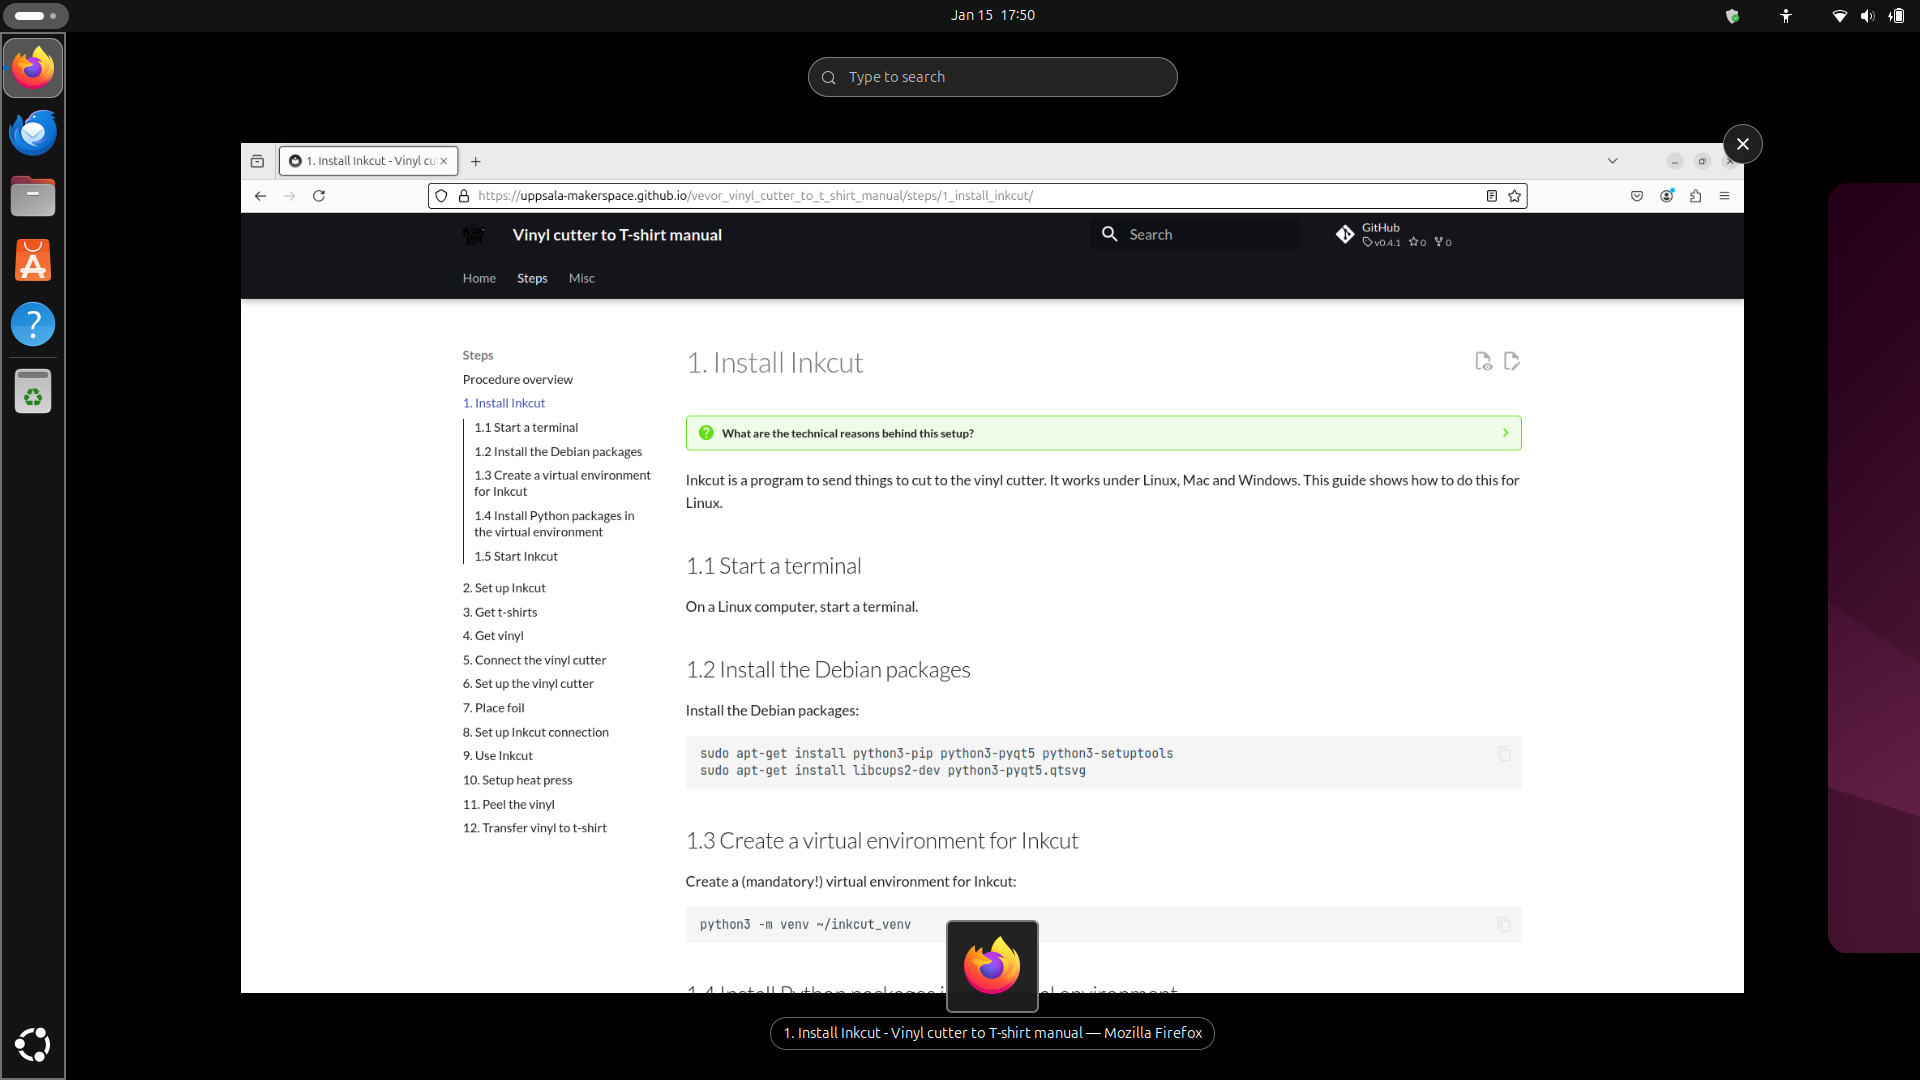
- Type
terminal
How does this look like?
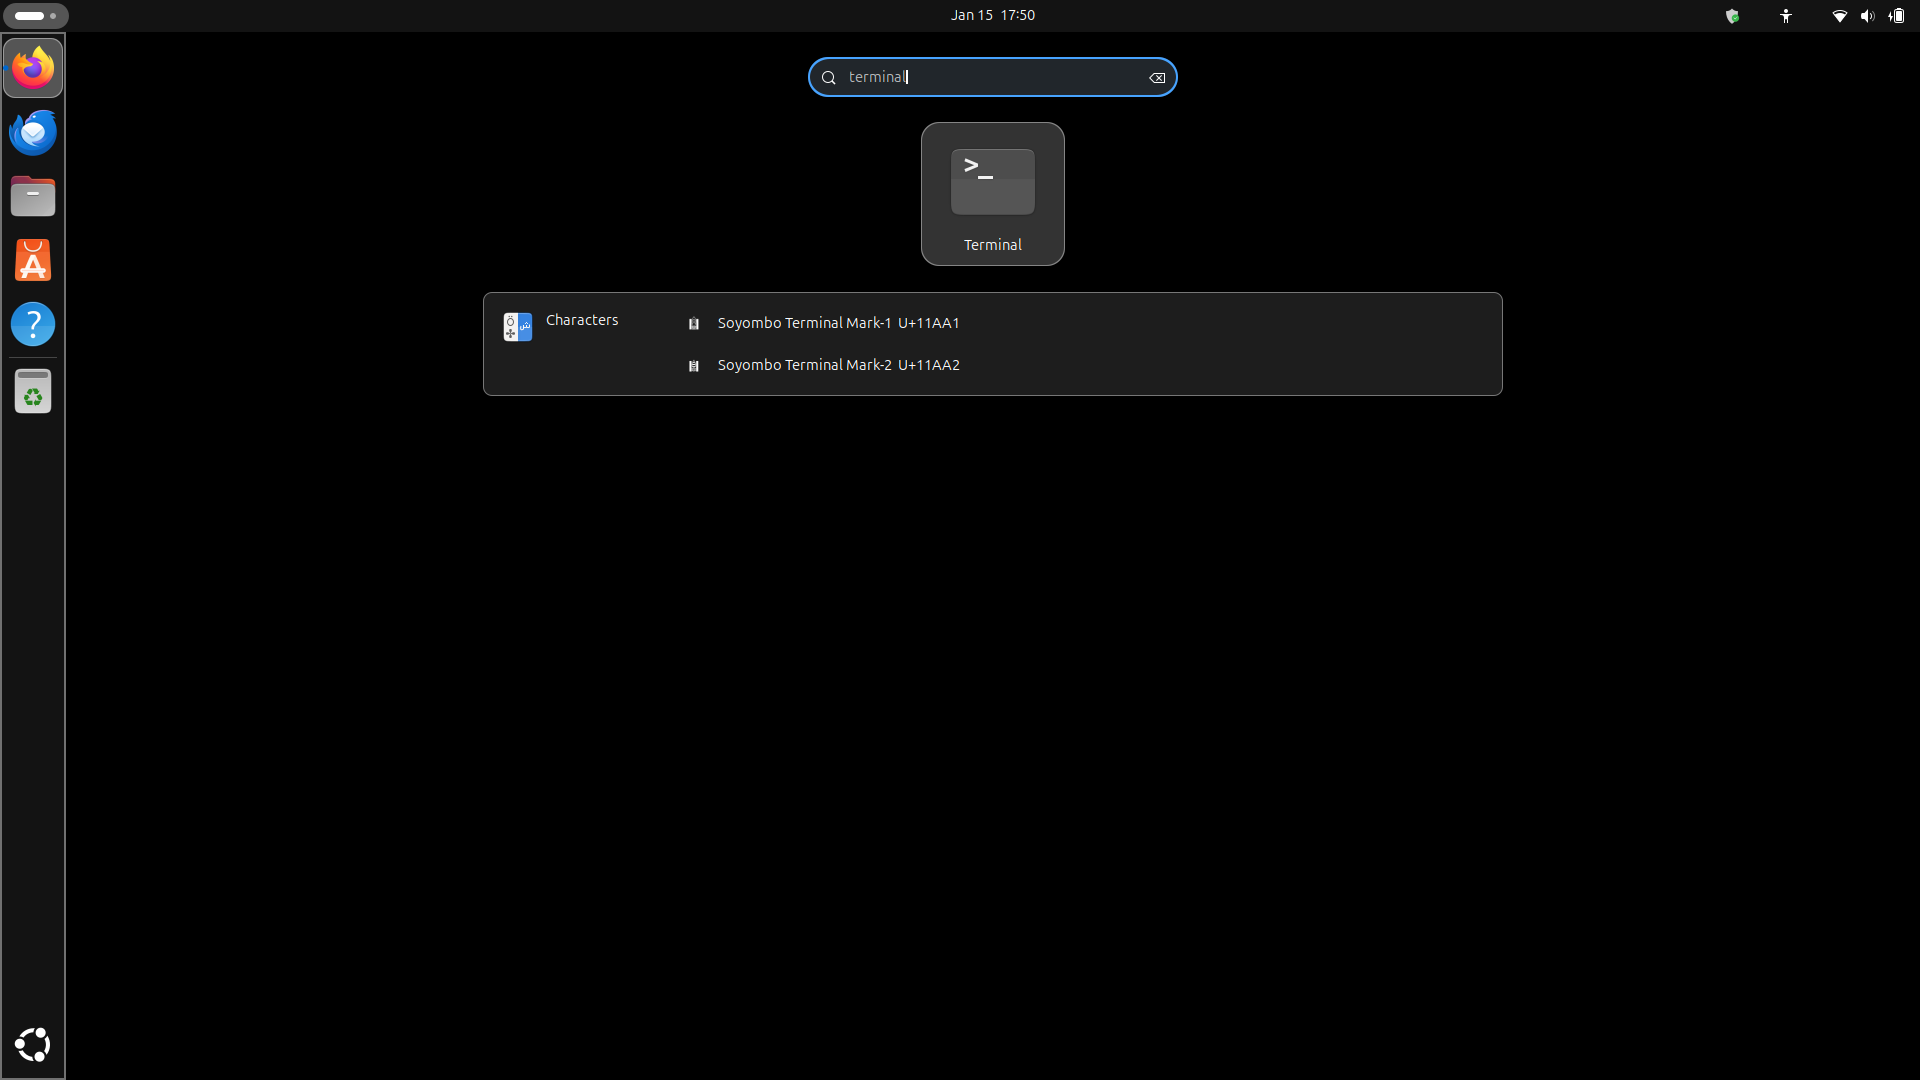
Now you have started a terminal
In the terminal, type
Now Inkcut will start.
8.2. Use the USB port
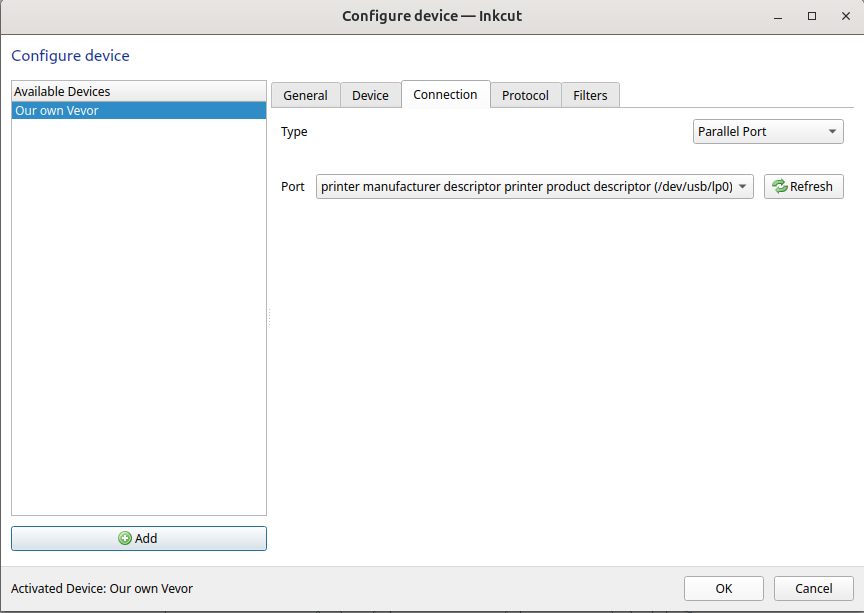
If you have physically connected the vinyl cutter to your laptop using USB, then, in Inkcut, go to the 'Configure device | Connection':
- Type: Parallel port
- Port:
printer manufacturer descriptor printer product descriptor (/dev/usb/lp0)
8.3. Use the COM port
If you have physically connected the vinyl cutter to your laptop using the COM port, then, in Inkcut, go to the 'Configure device | Connection':
- Type: Serial port
- Port:
ttyUSB0. If you cannot selectttyUSB0, you've used the wrong USB cable coming out of the vinyl cutter :-) - Baudrate: 38400
Why do you use the serial port?
Because it was the first one that worked for me.
Please contribute if you want to document how to connect a laptop to the vinyl cutter using a parallel connection.
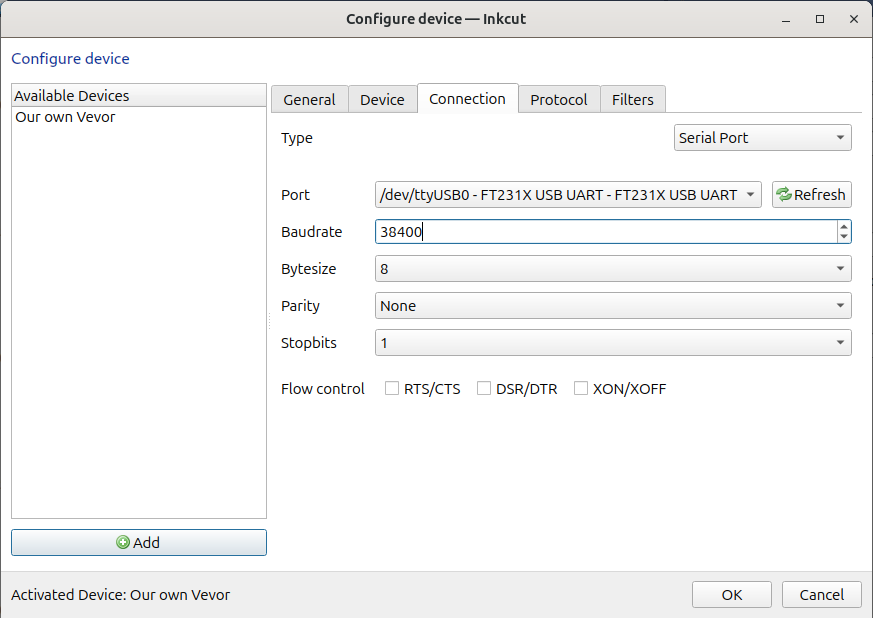
Use the serial port with a baudrate of 38400. If you cannot select
ttyUSB0, you've used the wrong USB cable coming out of the vinyl cutter