Casing's history
Here is the history of the casing used in this machine.
Six pieces box
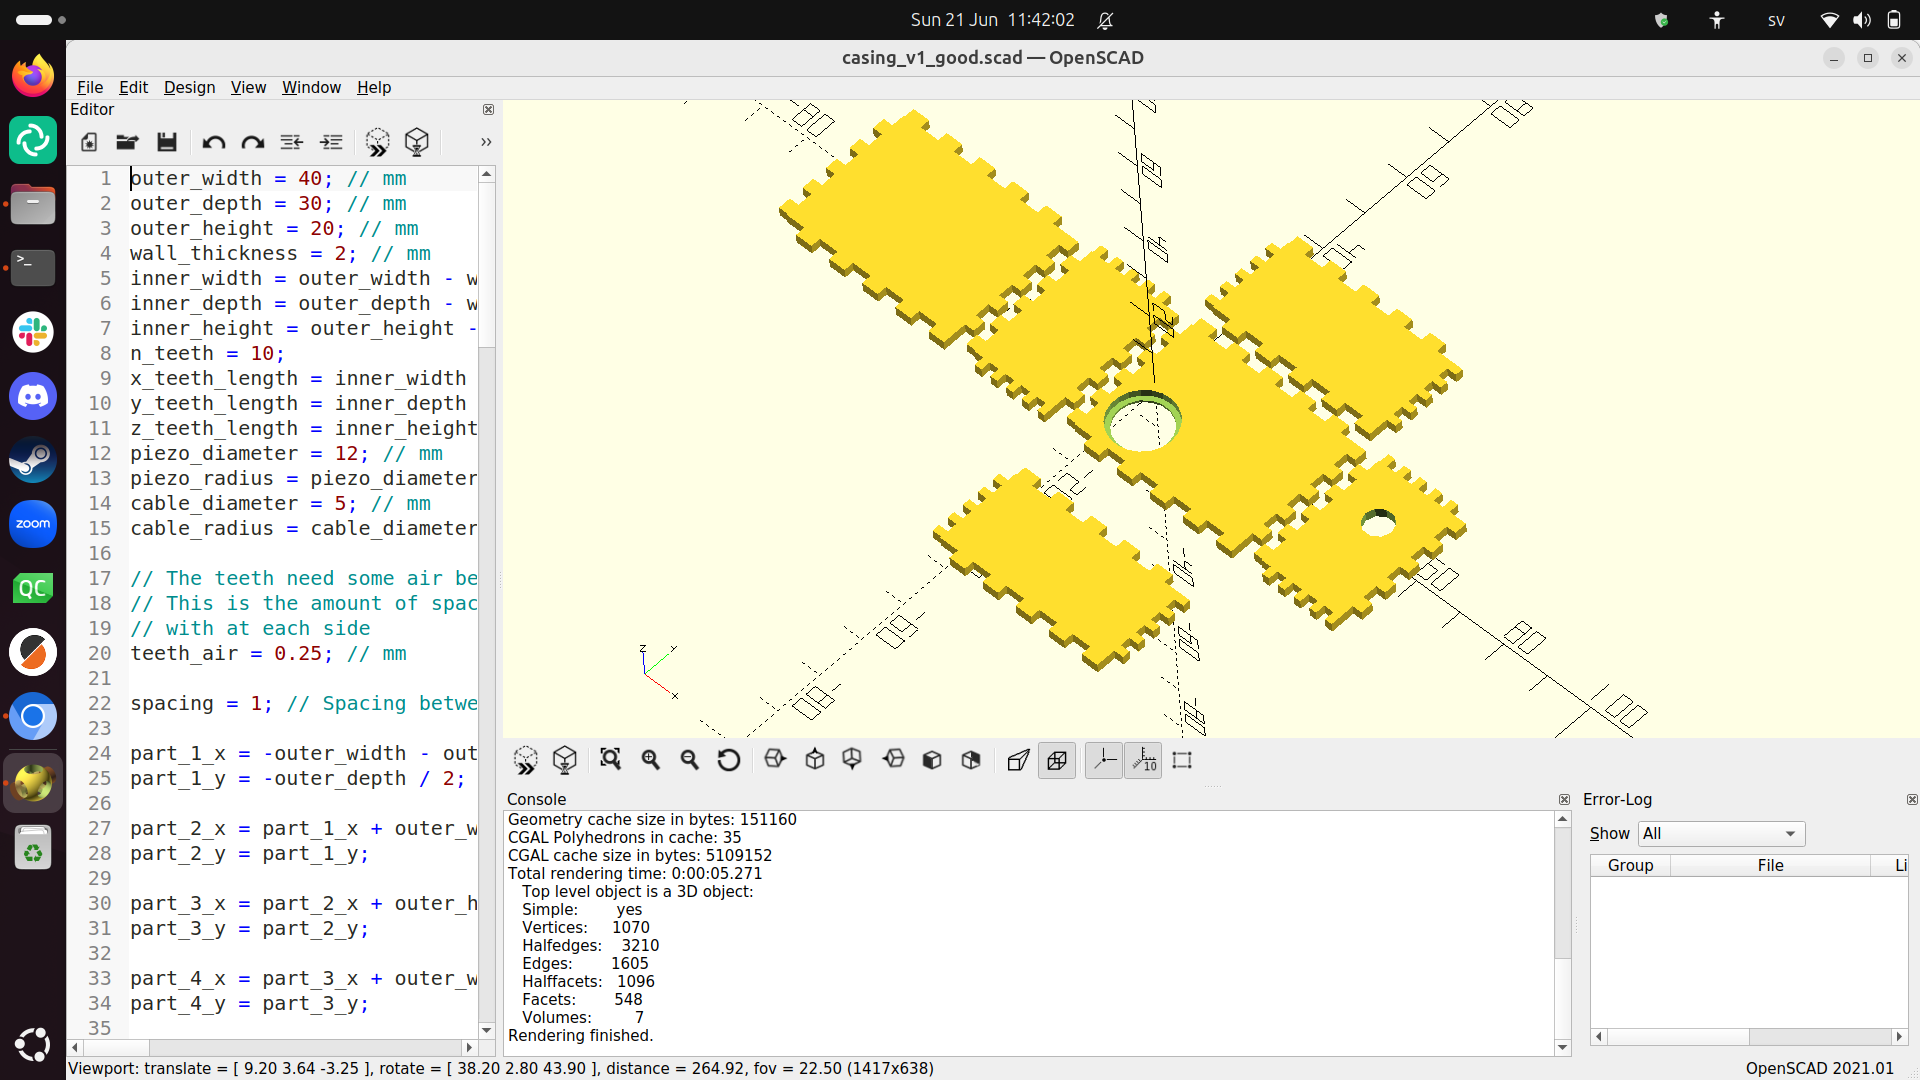
The 'six pieces box' was my first idea and my first real casing design, in OpenSCAD:
I wanted a design without scaffolding, hence I opted to glue to pieces together.
The first prints resulted in six pieces that did not fit together:
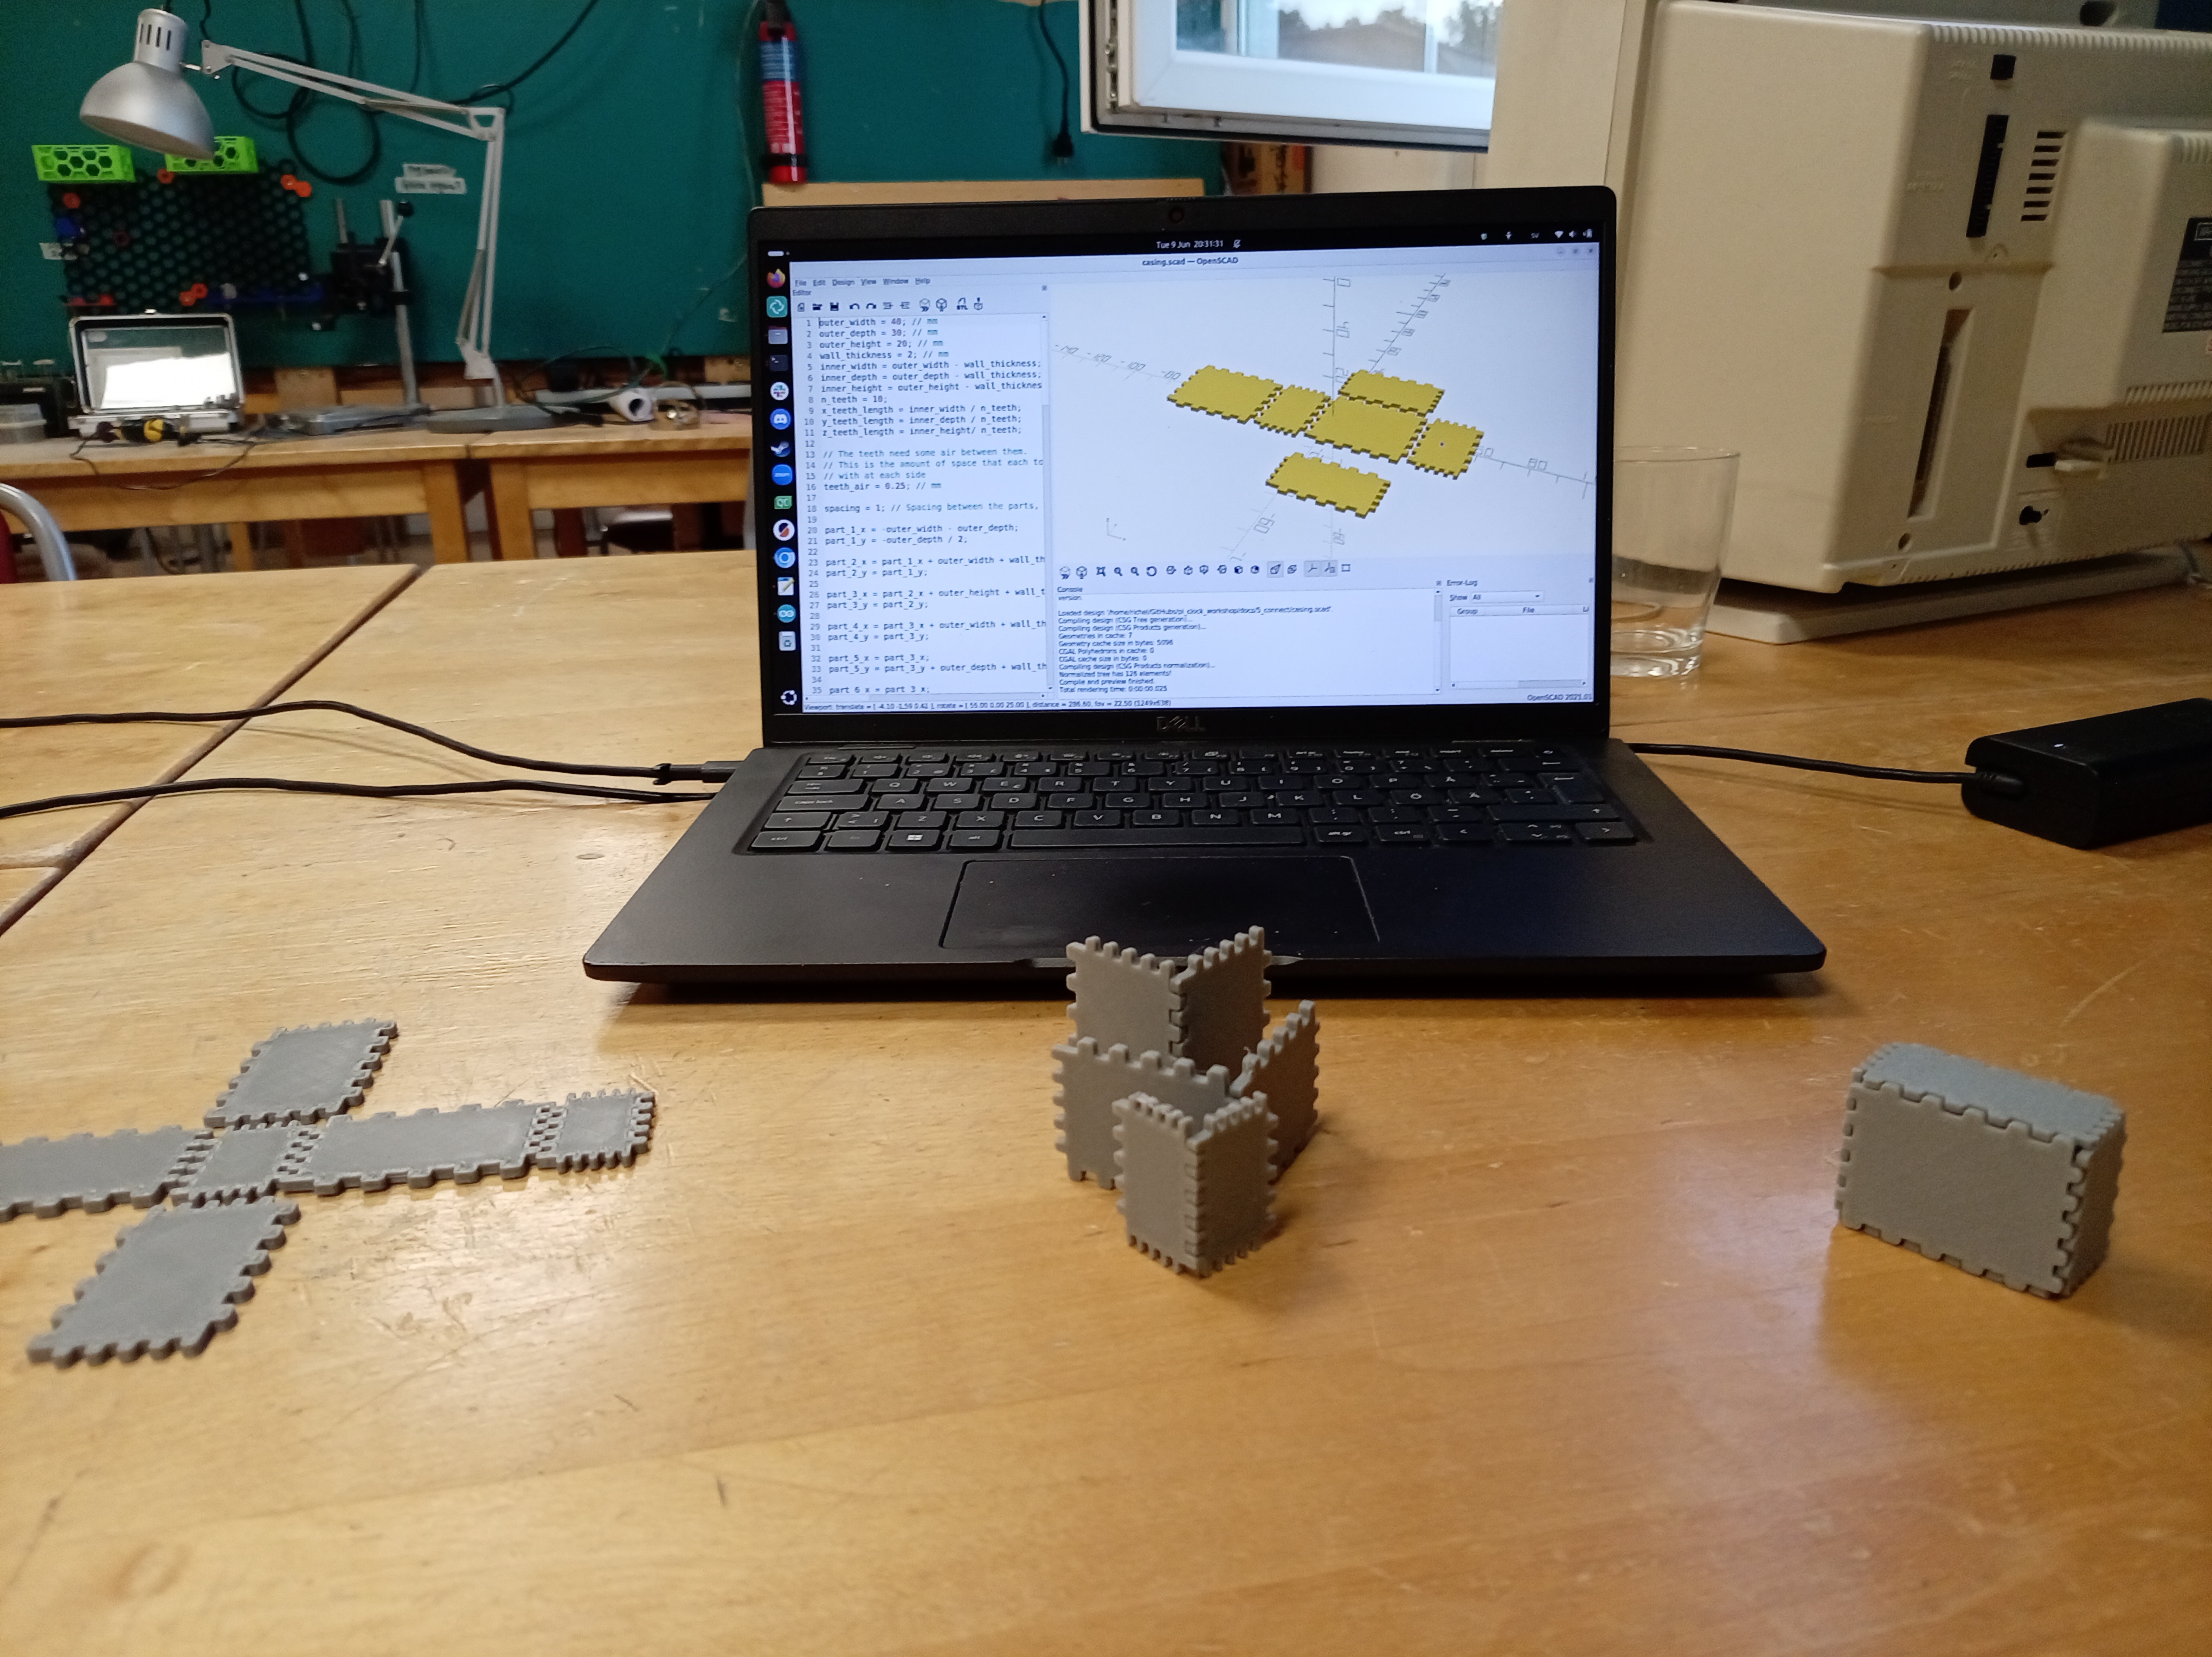
After adding an air gap, the pieces fit together well enough to form a box:
I was happy I was able to create this box. However, I was unhappy with its design, as it involved too much glue and the glue available to me was not strong enough.
I realized that I can instead go for an open box design, where only a lid needs to be conneced to the box-except-lid. I decided to transition to this two pieces box design.
Two pieces box
Instead of glueing together the six pieces, I realized I could print 5 out of 6 pieces as one single piece without scaffolding.
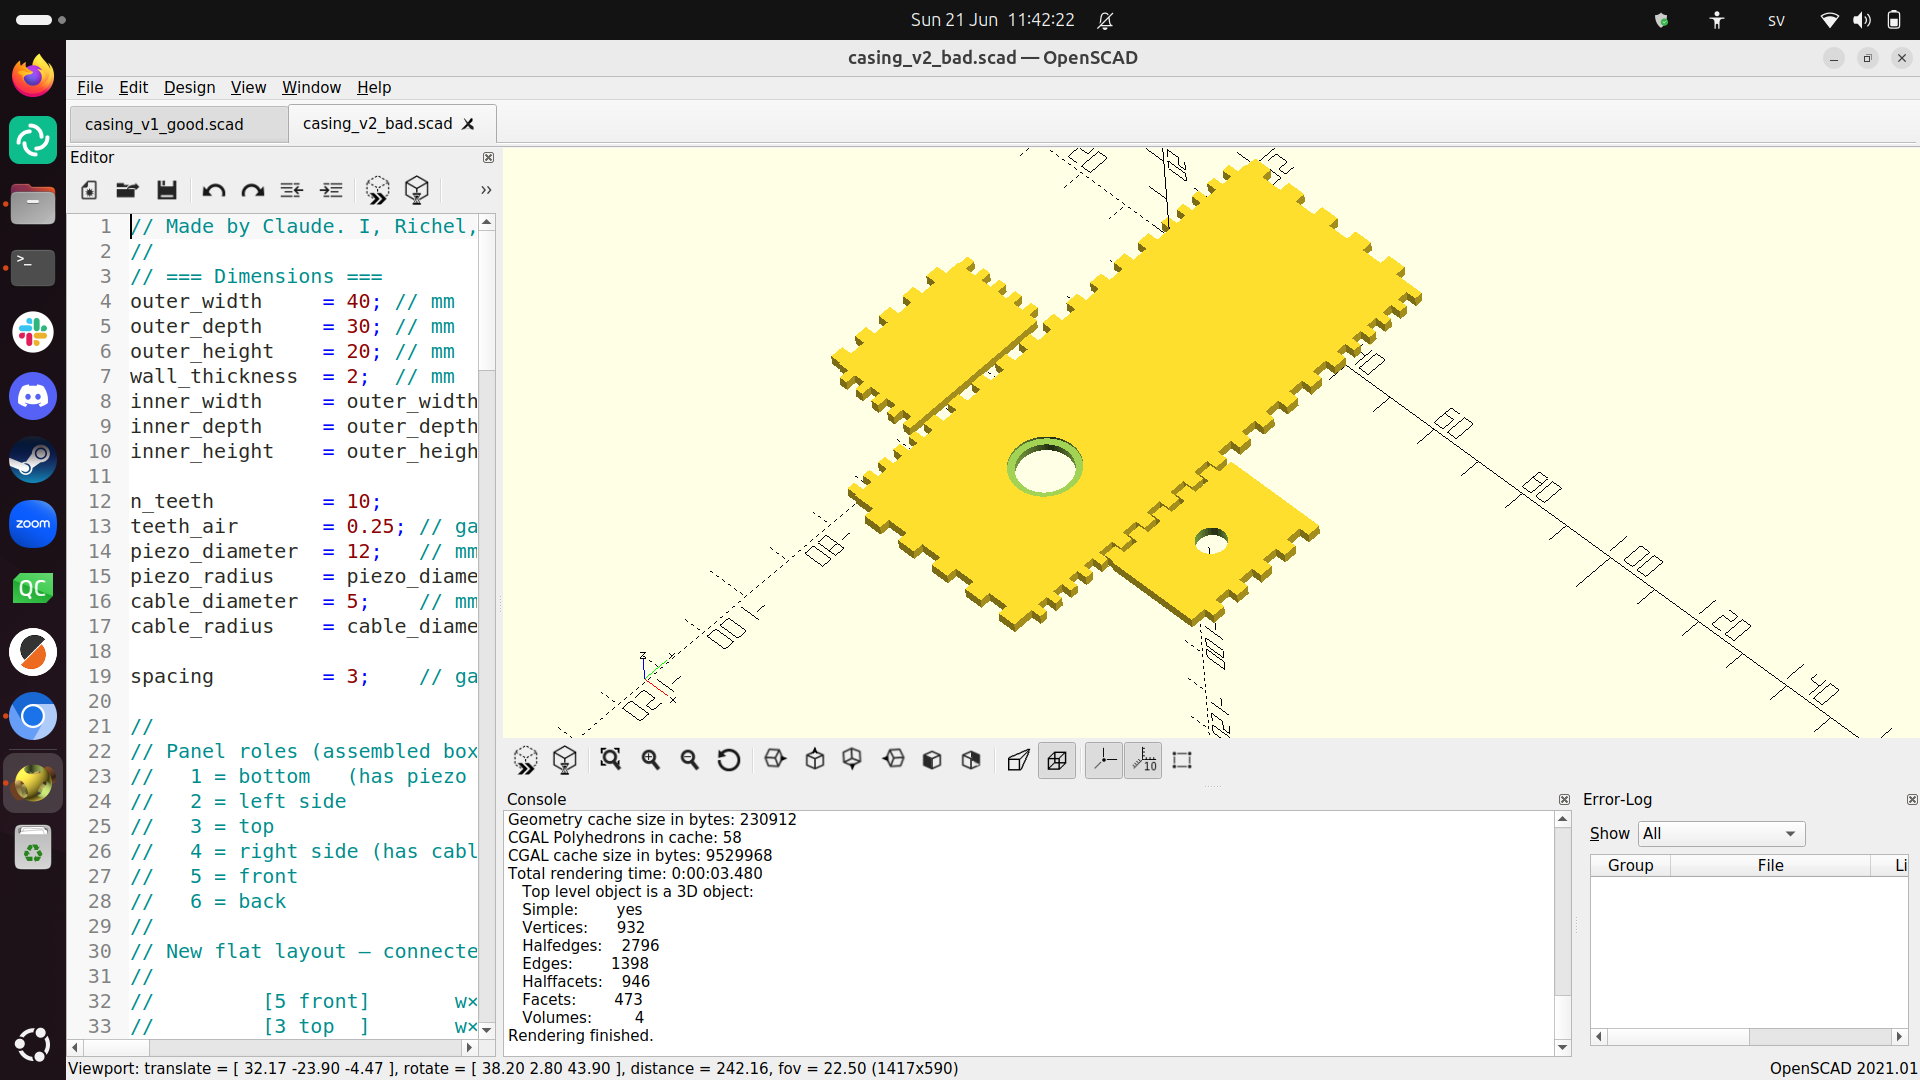
I first tried to create such a two pieces box using Claude. It did not work out well:
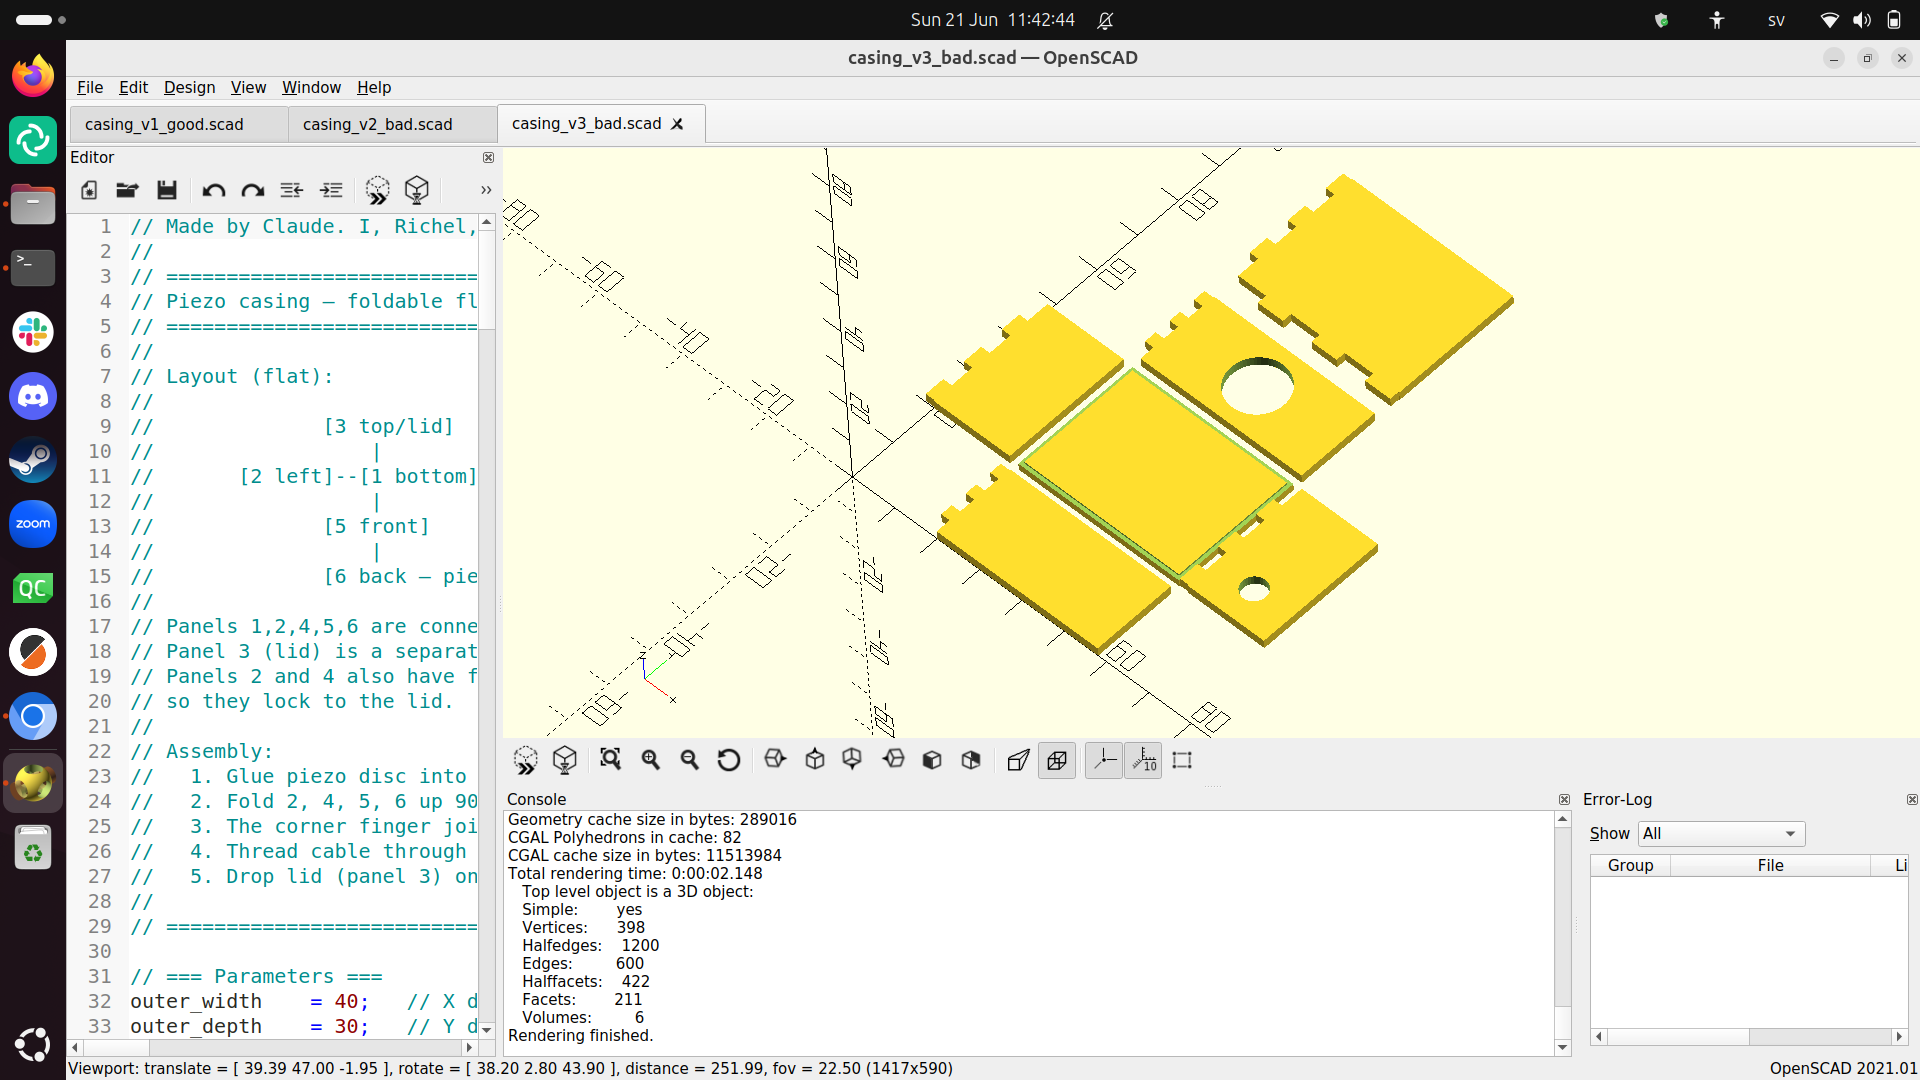
Realizing Claude does not understand OpenSCAD well enough, I designed part of this design hand instead.
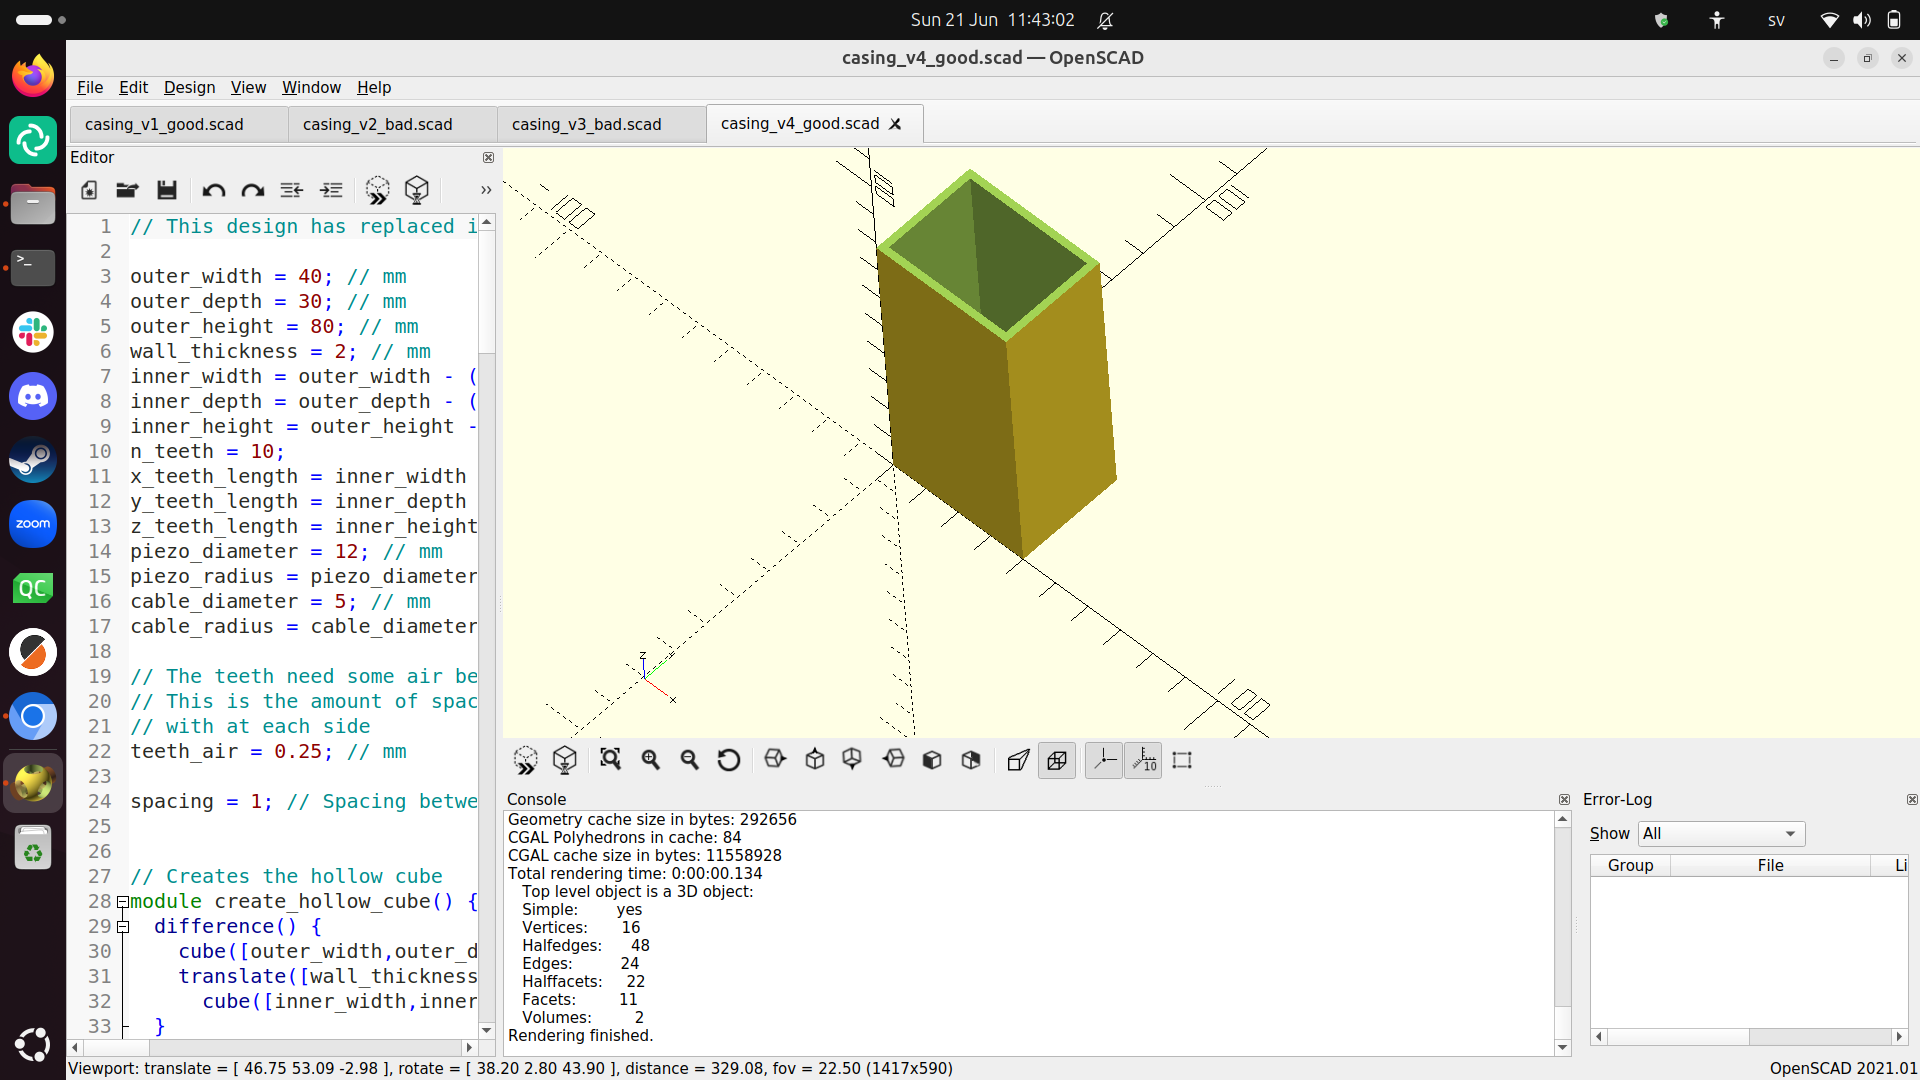
However, how to connect the lid?
I decided to start using a screw-on approach. Then, I realized, that I might as well make the clock spherical: it fits the theme better.
This is how I landed on the final design.
Sphere
A spherical design for a pi clock felt like a good fit. I wanted to have the sphere consists out of two half-spheres that can be screwed together.
First, I designed the screw, as I wanted to make sure that it could work:
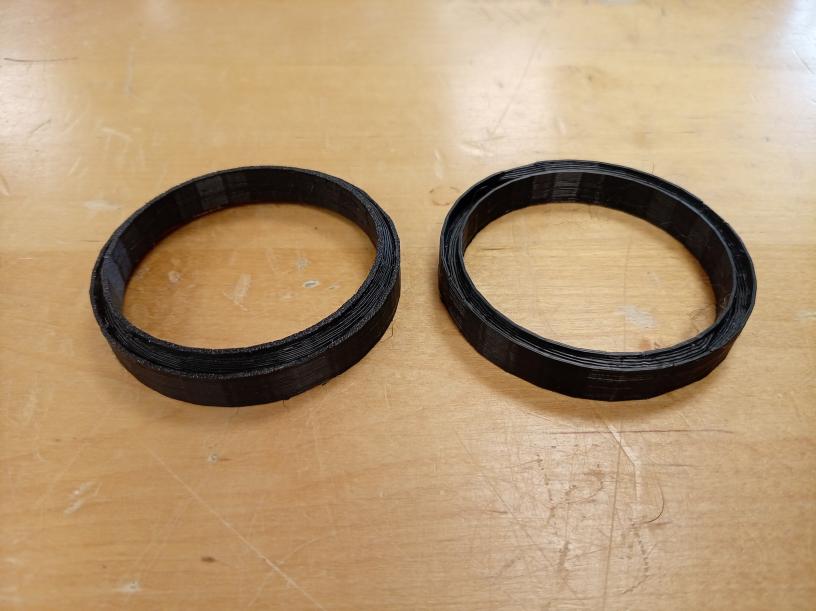
The screw at the left did not work properly, with an air gap of 1 millimeter. The screw at the right had an air gap of 2 millimeter and worked great!
Then I printed my first sphere:
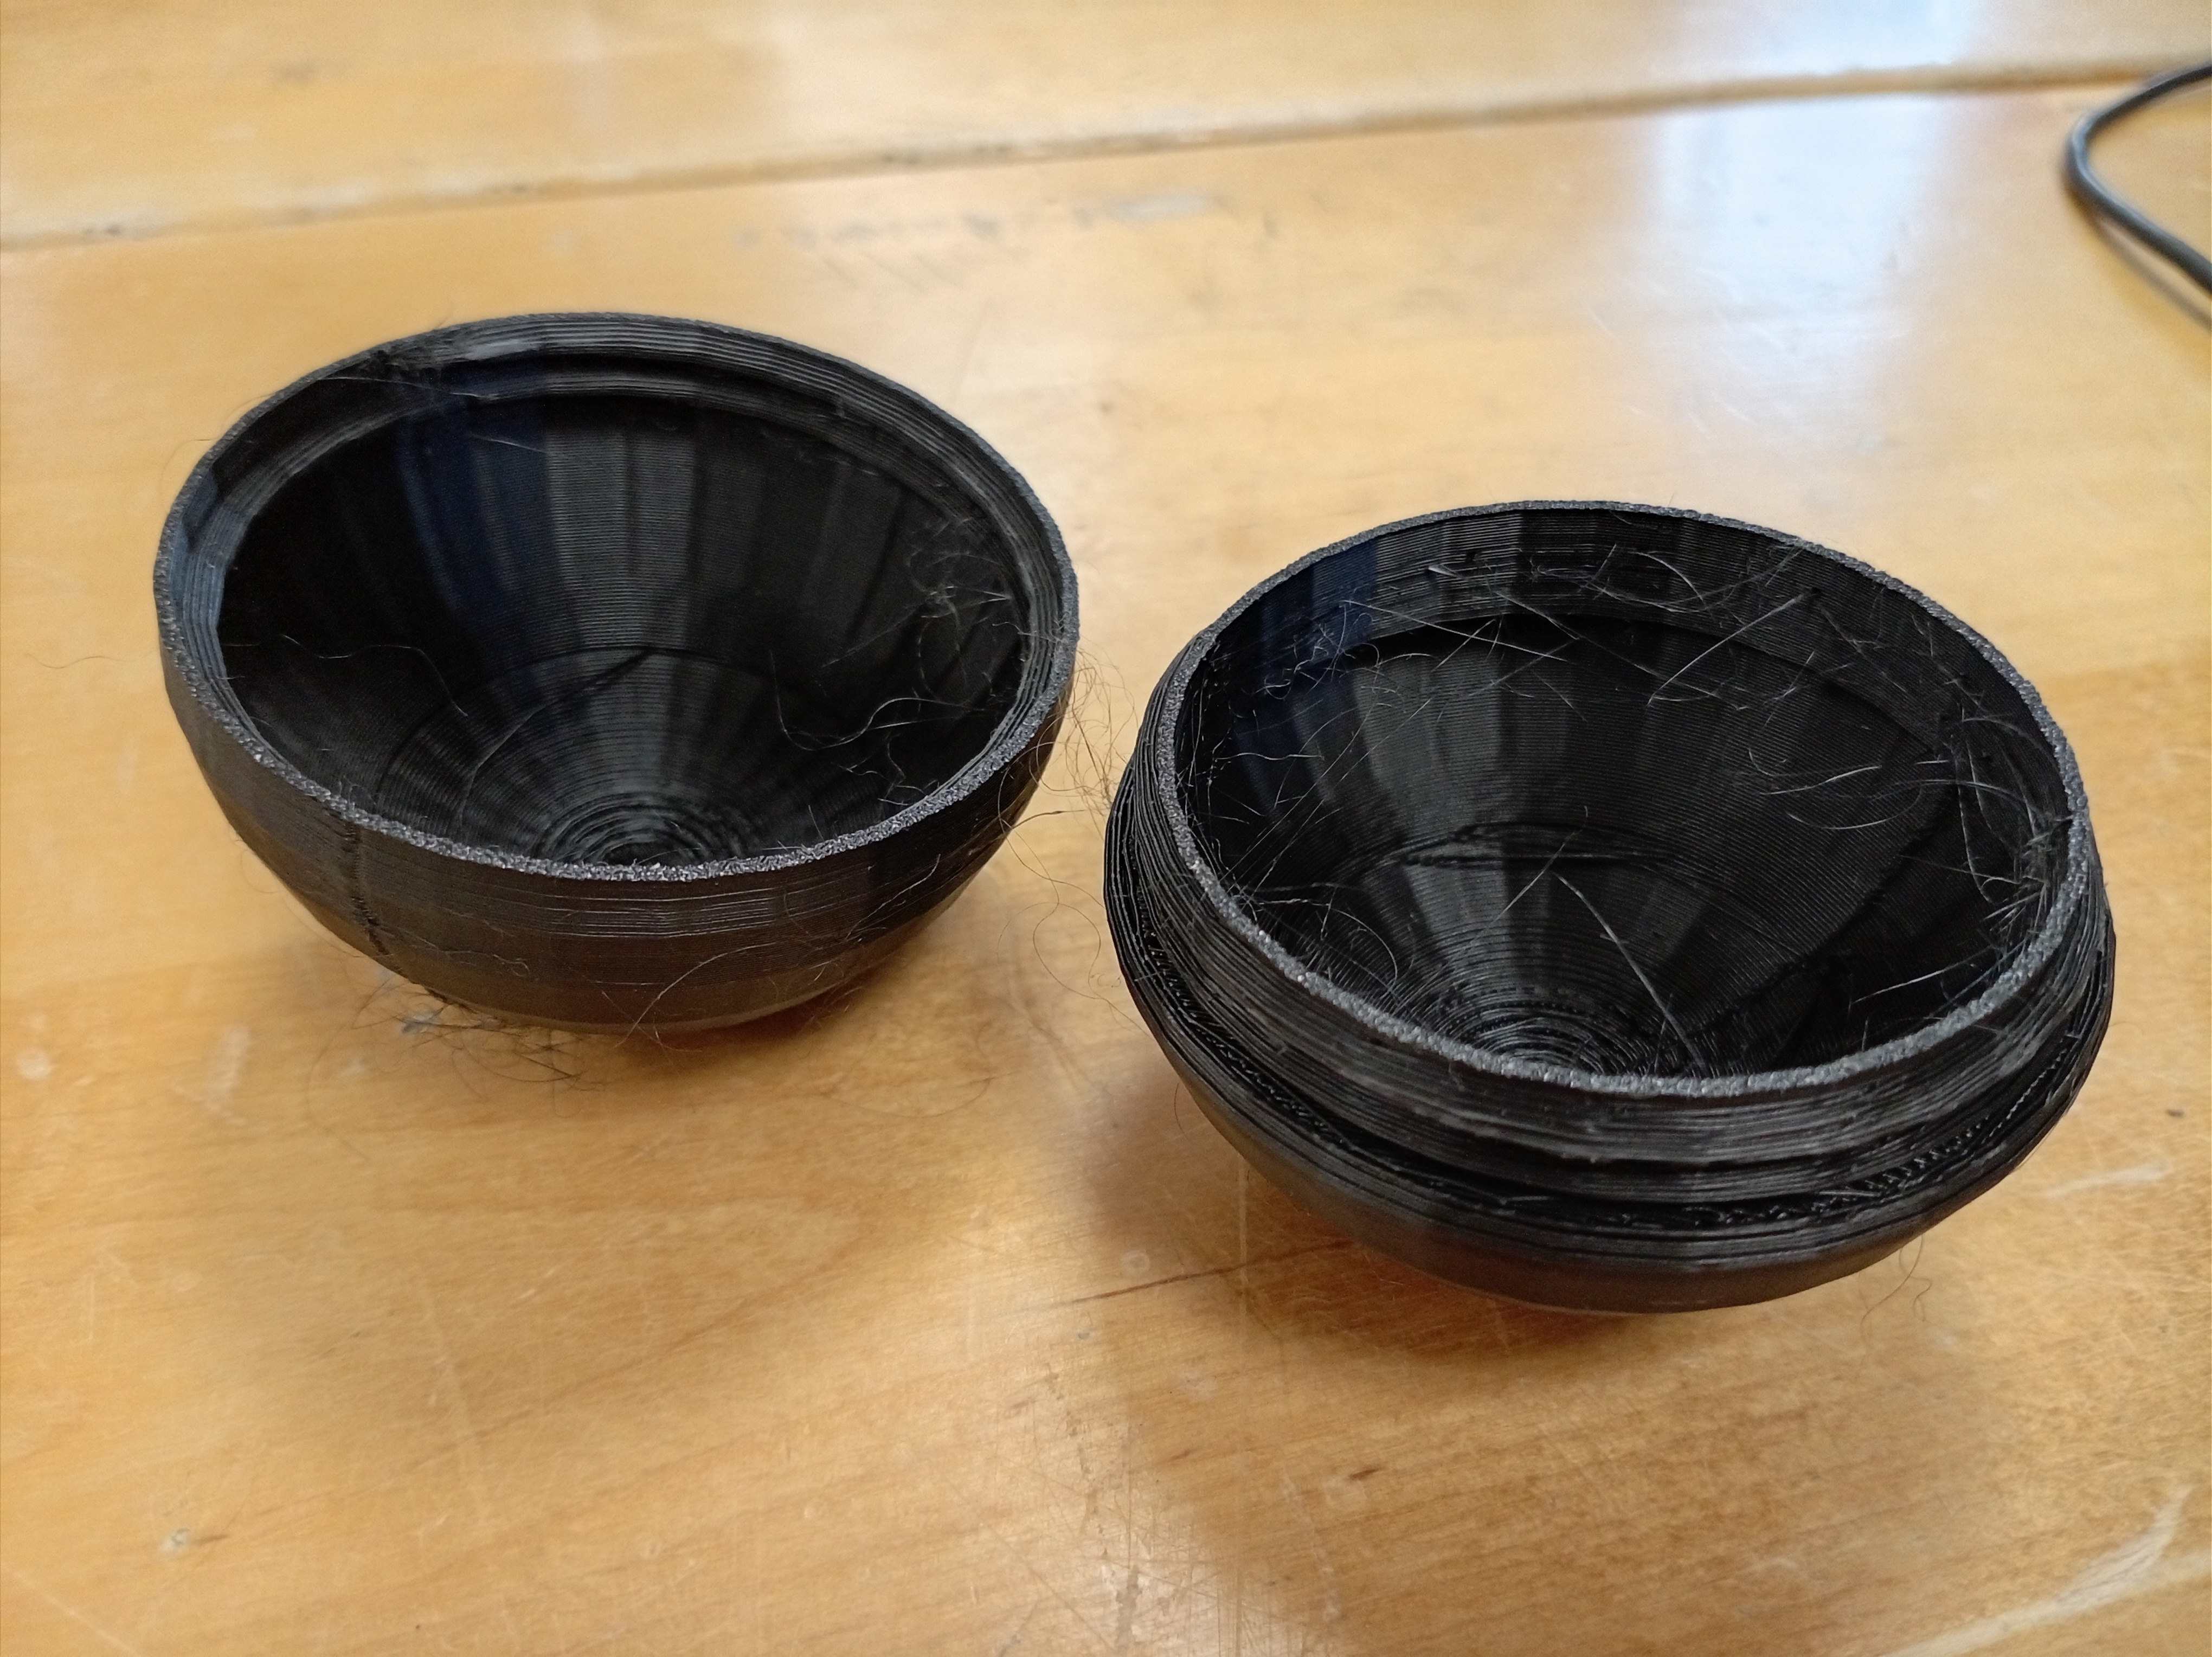
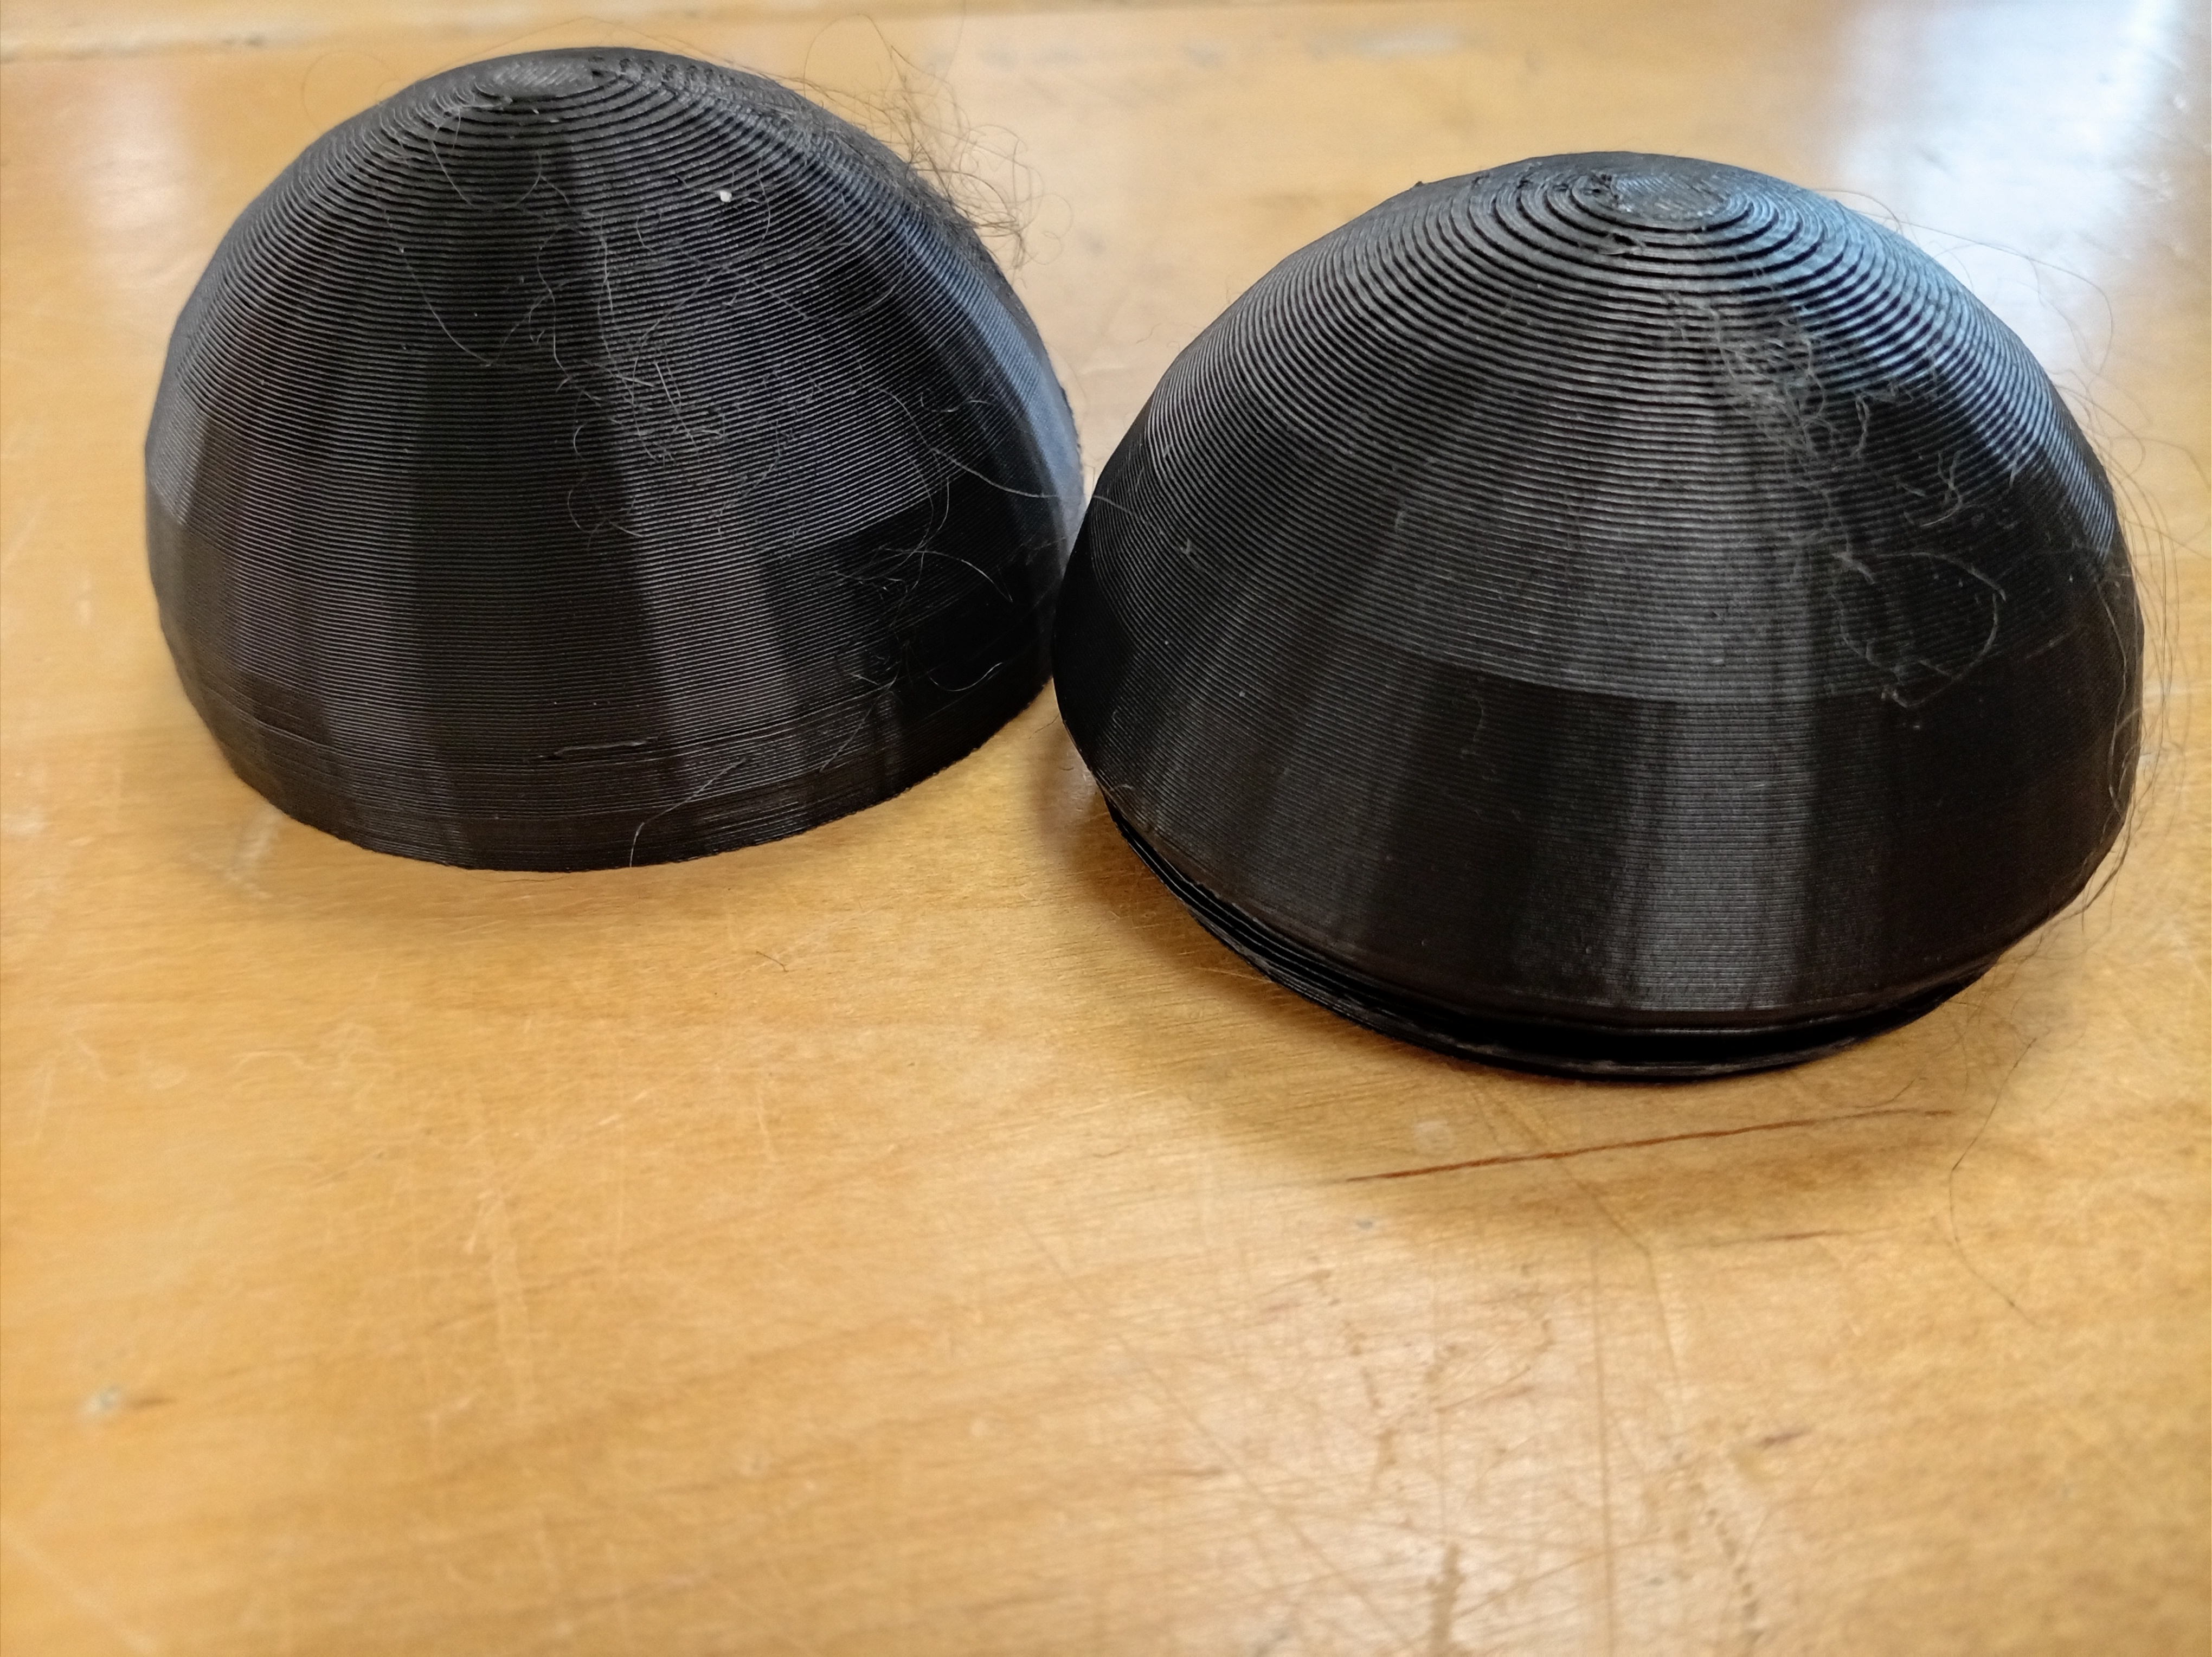
It worked great!
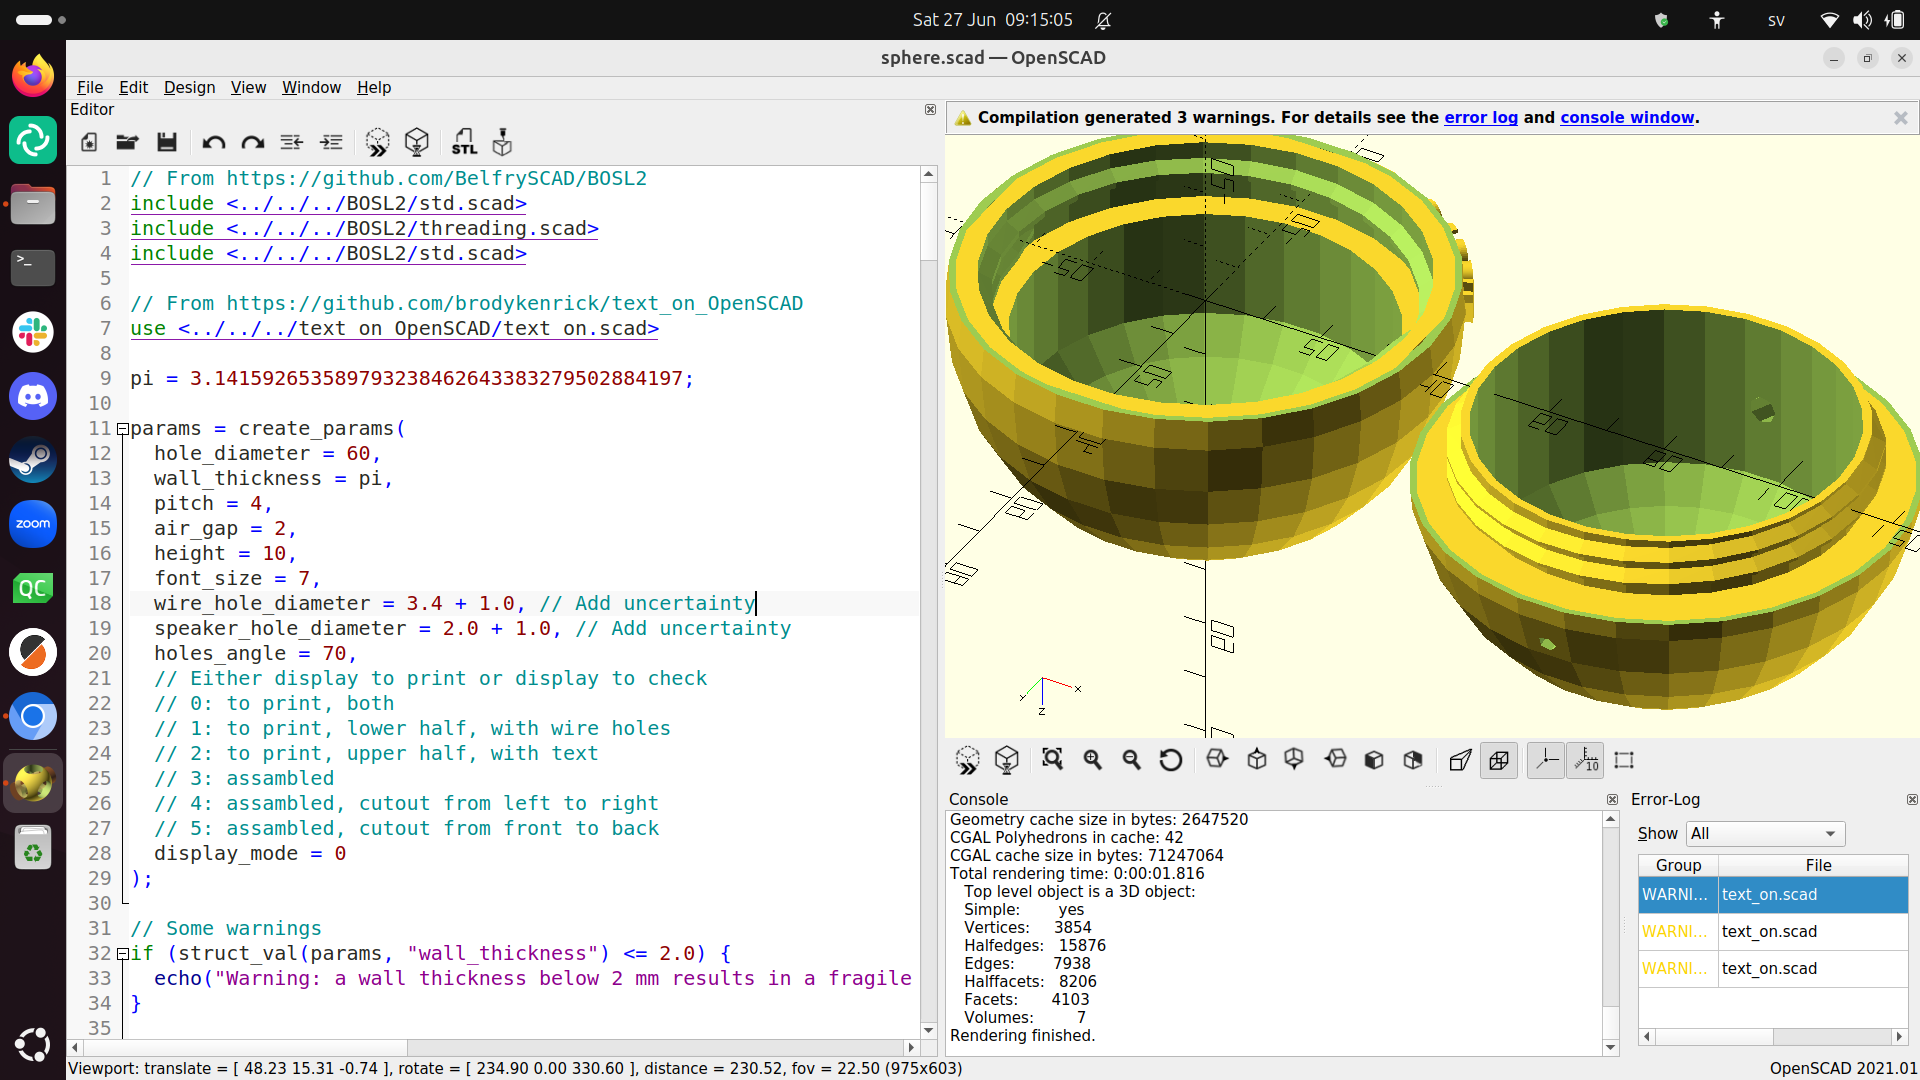
My first design had a structural weakness: the ring that connected the bolt with the outer sphere was too thin and needed scaffolding.
I decided to make both the bolt and nut to extend down/up the entire half-sphere, making it sturdier and reduce scaffolds.
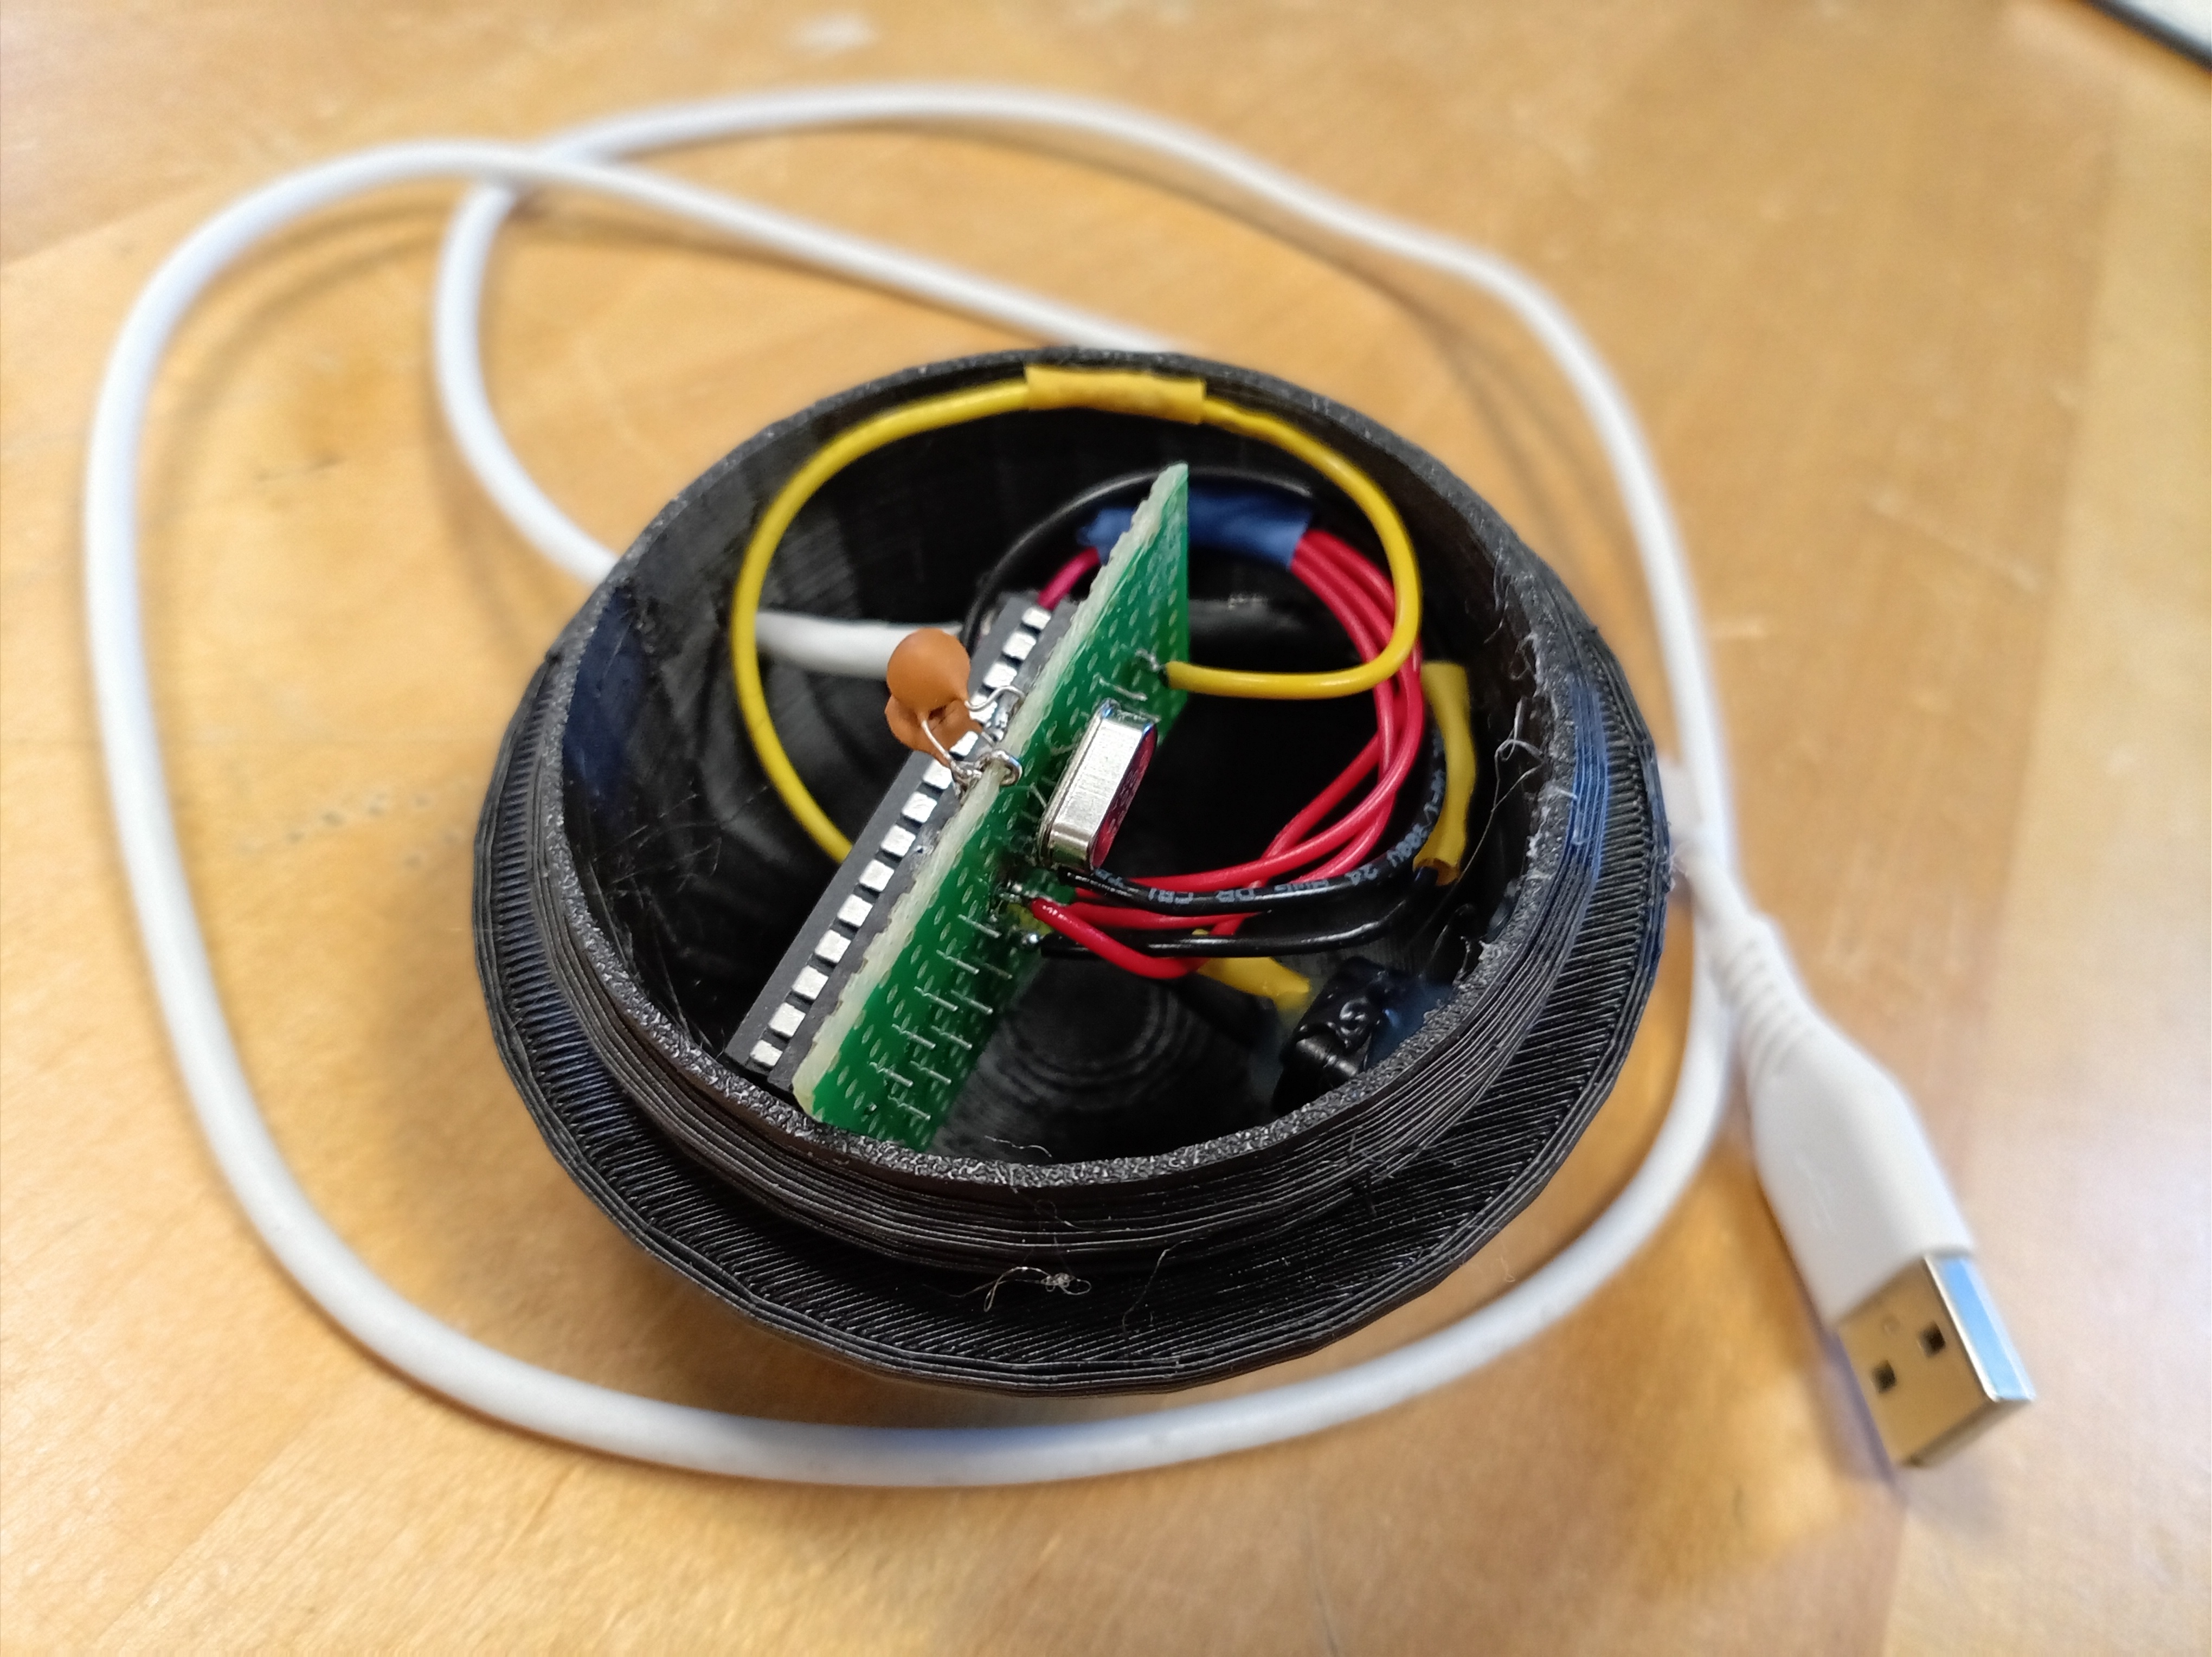
The PCB fit the casing: